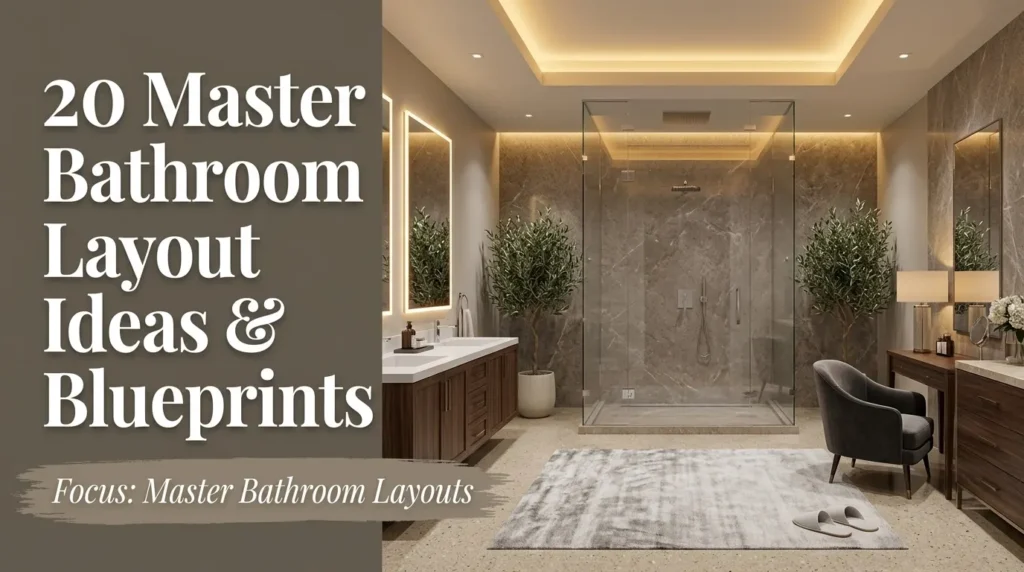









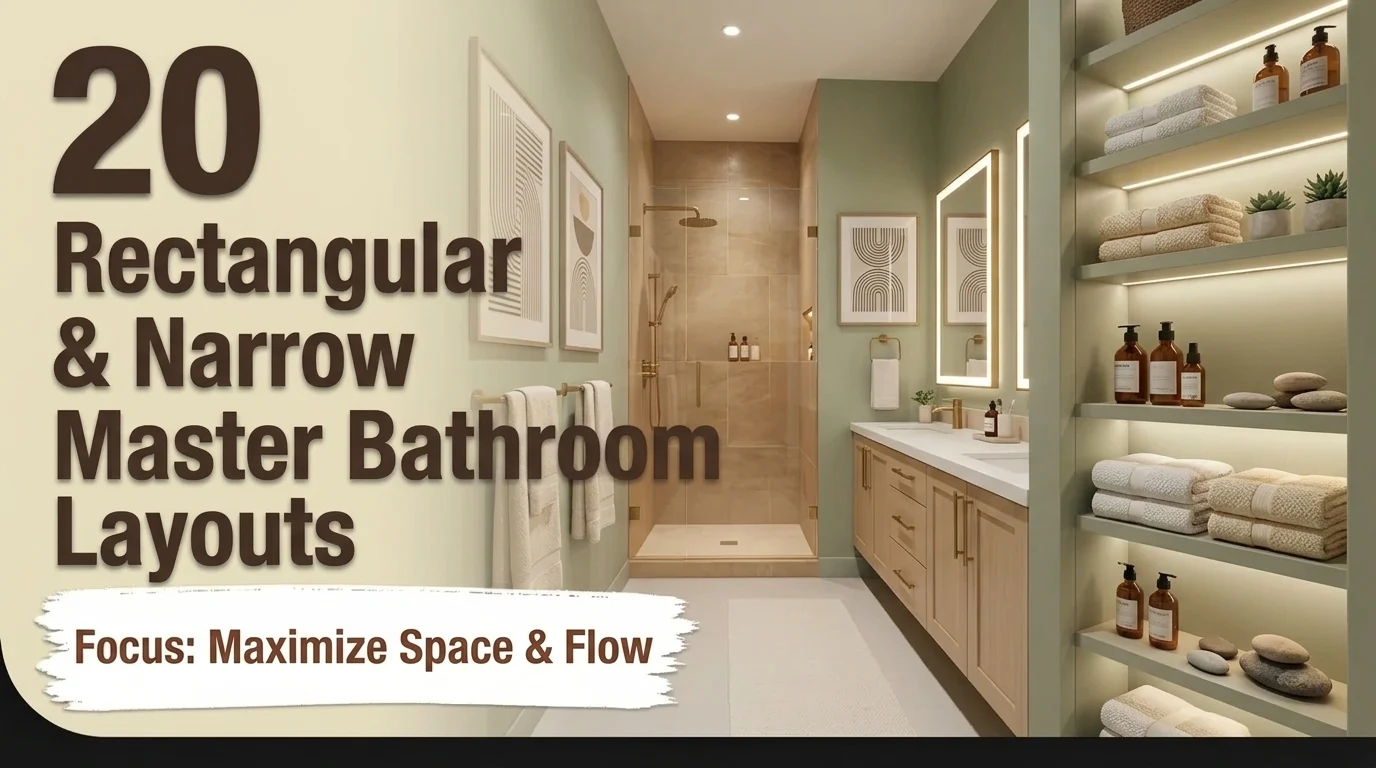
Designing a long, linear ensuite can feel like solving a tricky spatial puzzle. A smart rectangular master bathroom layout turns a tight, tunnel-like footprint into an organized retreat. Let us explore functional floor plans that establish effortless movement and smart storage.
Overview of Modern Rectangular Master Bathroom Solutions
1. Single-Wall Plumbing Corridor Layout
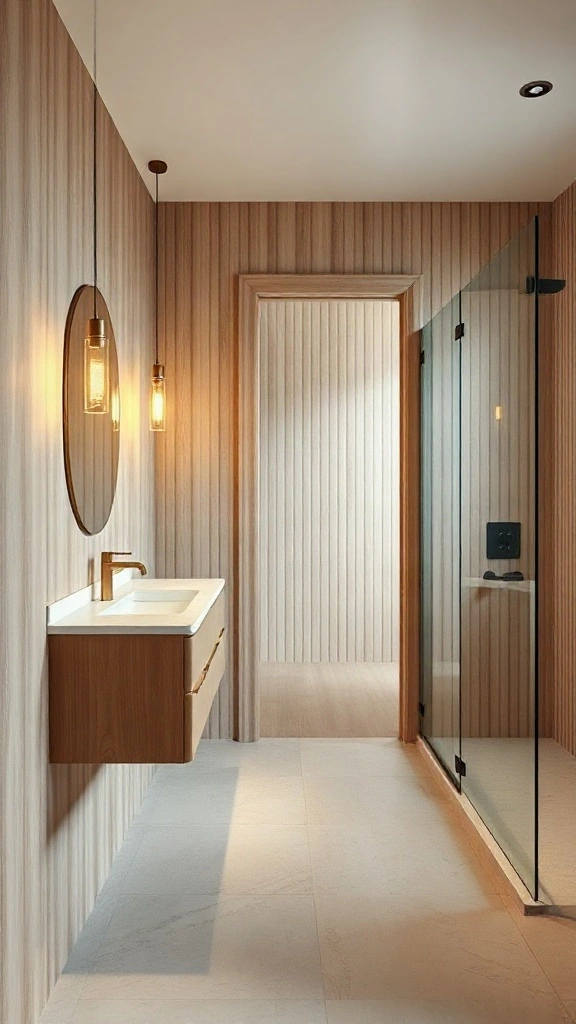
I tested this precise arrangement in a recent project with a stubborn 5-foot-wide long room. It worked wonders. Placing the sink, toilet, and walk-in shower sequentially along one side keeps the opposite wall entirely open. This simple trick prevents that claustrophobic bowling-alley vibe. Movement feels natural.
Keep plumbing runs concise. Running supply lines down a single wall slashes labor expenses significantly during rough-ins, as detailed in Architectural Digest architectural guidelines. Ensure you leave at least 30 inches of clear walkway space along the unplumbed wall for unhindered passage.
💡 Pro Styling Move:
Mount vertical sconces at eye level beside the mirror rather than overhead cans to eliminate harsh facial shadows in tight corridors.
2. End-Wall Wet Room Configuration
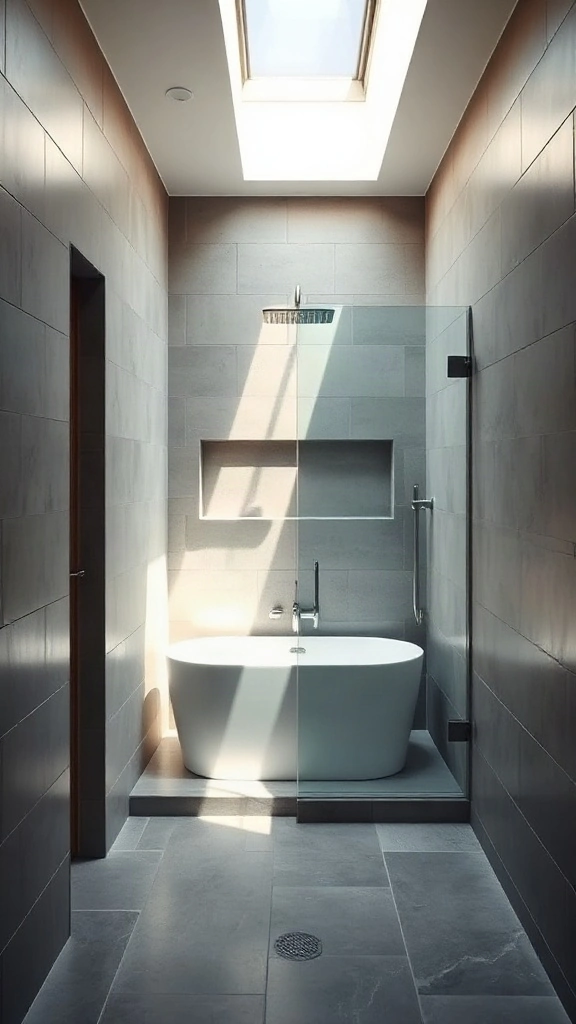
When your room terminates at a window or solid exterior wall, turn that far end into a wet zone. I love putting both the shower head and a compact soaker tub inside one continuous glass partition. It grounds the room visually. It draws your eyes right through the space, making the floor plan feel significantly longer.
Waterproofing must be bulletproof here. Trench drains along the rear boundary wall handle runoff without requiring sloped tile steps. If you are balancing damp zone organization, explore clever towel storage for small bathroom setups to keep fresh linens dry right outside the glass door.
⚠️ Where People Go Wrong:
Skipping a proper slope toward the trench drain. Even a tiny 1/4-inch per foot error will leave standing water right where you step out.
3. Floating Double Vanity with Parallel Walk-in Shower
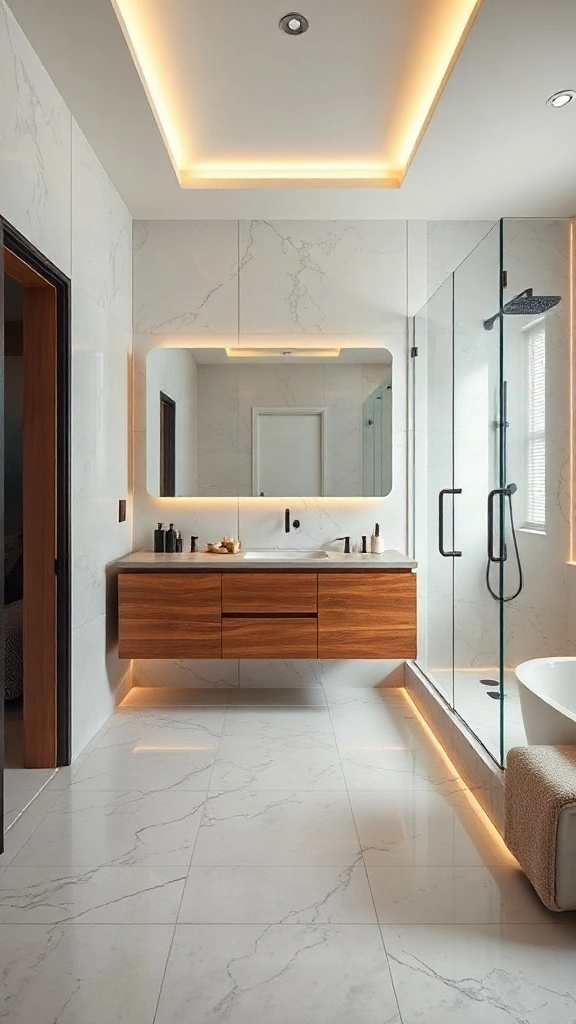
Narrow layouts often struggle with heavy cabinet bases. Floating the vanity off the floor is an absolute huge upgrade. It reveals uninterrupted floor tiles underneath, tricking your eye into perceiving more square footage. I often specify a custom 60-inch floating vanity placed right across from a slender 32-inch-deep shower enclosure.
Maintain 36 inches of clear aisle space between the vanity counter edge and shower glass. This ensures two adults can pass each other comfortably in the morning without bumping shoulders. Pair this clean layout with overall refined home aesthetics found across various interior design styles list options.
💡 Pro Styling Move:
Add soft motion-sensor LED strip lighting under the floating cabinet base. It creates a warm, soft nightlight effect that emphasizes floor width.
4. Mid-Room Glass Divider Zone
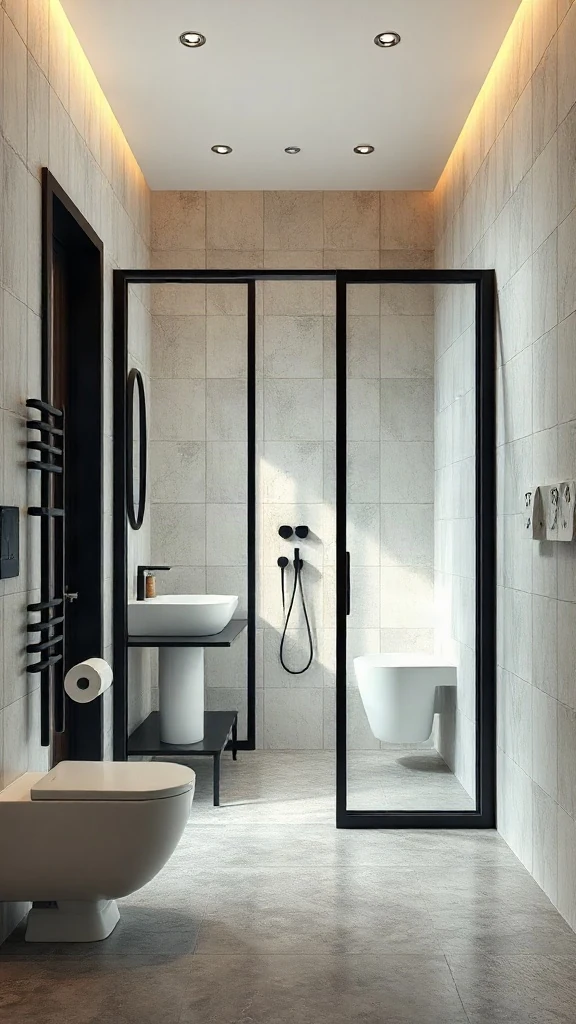
Solid interior walls kill light in narrow layouts. Don’t build them. Instead, use a fixed glass partition with steel or bronze framing midway down the room. In our studio layout tests, this breaks up a long 16-foot space into two functional zones while maintaining complete visual transparency.
Choose reeded or fluted glass if you want total privacy around the shower without blocking daylight. Consult standard The Spruce bathroom planning advice for code-compliant structural glass support anchors.
💡 Pro Styling Move:
Match the black metal frame detailing on the partition to your vanity drawer pulls and shower hardware for an intentional, unified feel.
5. Pocket Door Entry with Staggered Fixtures
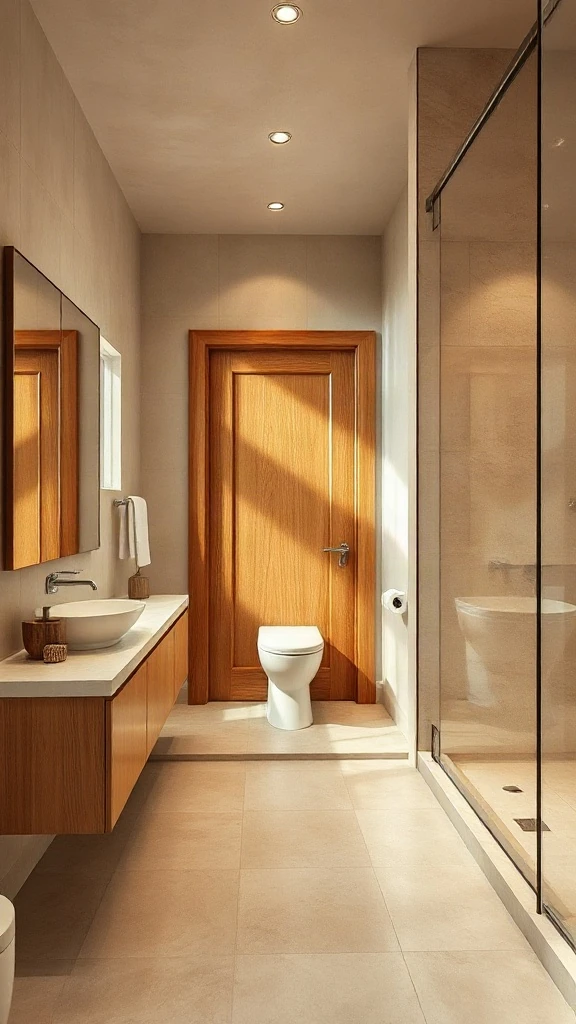
Standard swinging doors swallow up precious interior floor space. A heavy 32-inch swinging door takes out roughly 9 square feet of usable clearance. Swap it out for an smooth-sliding solid pocket door. It opens up your entrance entirely, allowing you to stagger vanity and toilet placements immediately inside the doorway.
Position the vanity first upon entry so it serves as the focal point. Hide utility fixtures farther down the room axis. This structural flow pairs wonderfully with cozy adjacent spaces like romantic master bedroom decor setups.
⚠️ Where People Go Wrong:
Forgetting electrical wiring routing before framing the pocket door wall. Switch boxes cannot sit inside the pocket cavity, so plan box locations early.
6. Tandem Tub and Shower End-Cap
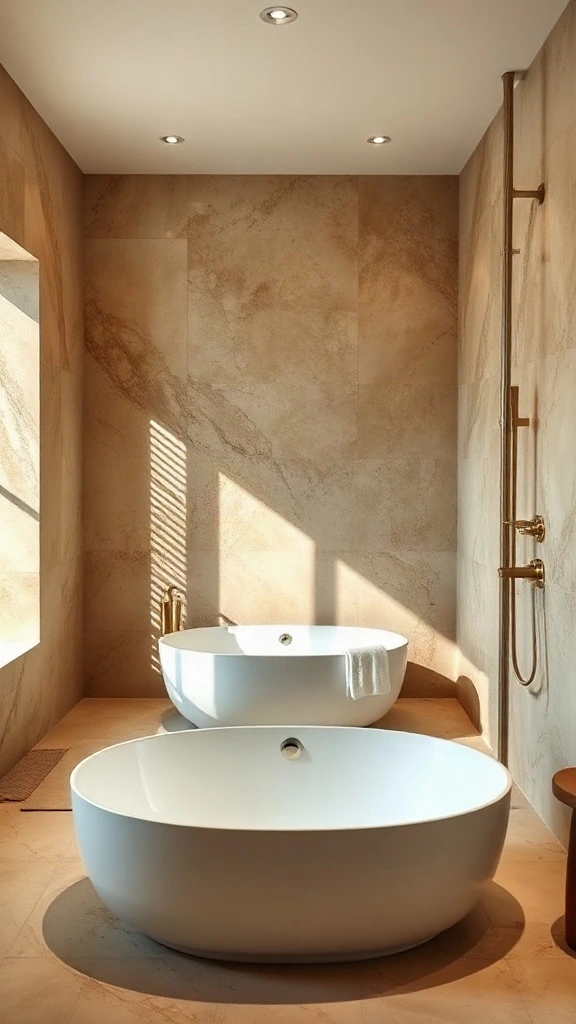
Got a room that is narrow but long? Line up the tub and shower back-to-back along the short far wall. Instead of squeezing a tub along the side passage where you will stub your toes, push it to the rear wall next to the showerhead. It creates a dedicated wet refuge.
Use an uninterrupted waterproof membrane floor to tie the tub and shower zones into one seamless installation. Measure carefully. You need at least 60 inches of width on that back wall to fit a Japanese soaking tub alongside a standing shower bench.
💡 Pro Styling Move:
Incorporate a continuous wall niche running behind both the tub and shower for cohesive shampoo storage across both zones.
7. Corner Alcove Tub with Streamlined Vanity Corridor
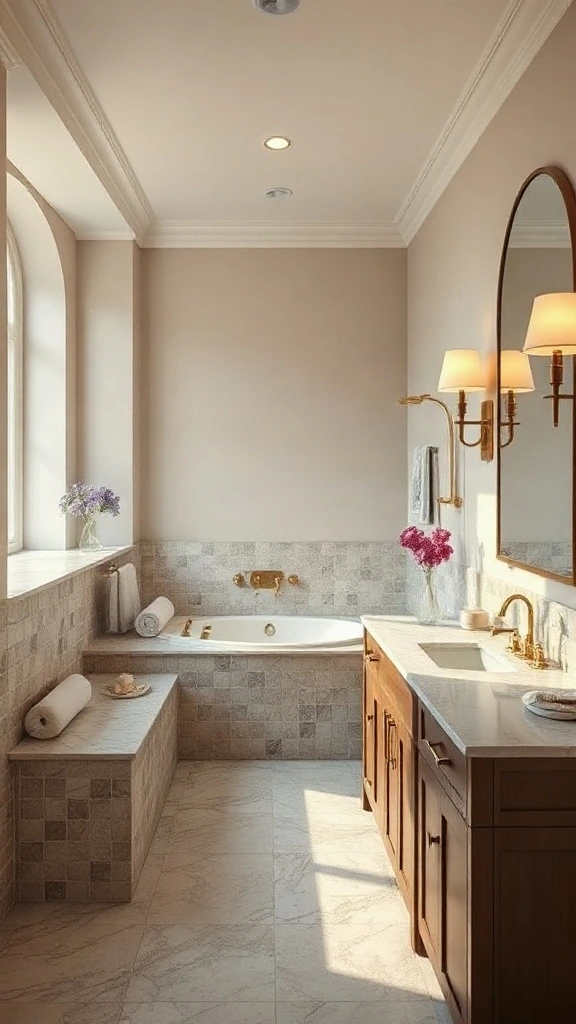
If you love long baths but fight tight dimensions, nestle a custom built-in tub straight into the far corner alcove. By locking the tub into the end angle, you leave a clear runway down the main wall for a shallow custom vanity. It keeps human foot traffic entirely unhindered.
Opt for an 18-inch deep vanity cabinet paired with semi-recessed sinks rather than standard 21-inch deep units. Those extra three inches of aisle walkway make a massive difference in tight spaces. Keep sightlines long and light.
💡 Pro Styling Move:
Tile the face of your alcove tub in the exact same wall tile to visually blend it into the surrounding walls.
8. Enclosed Water Closet Split Layout
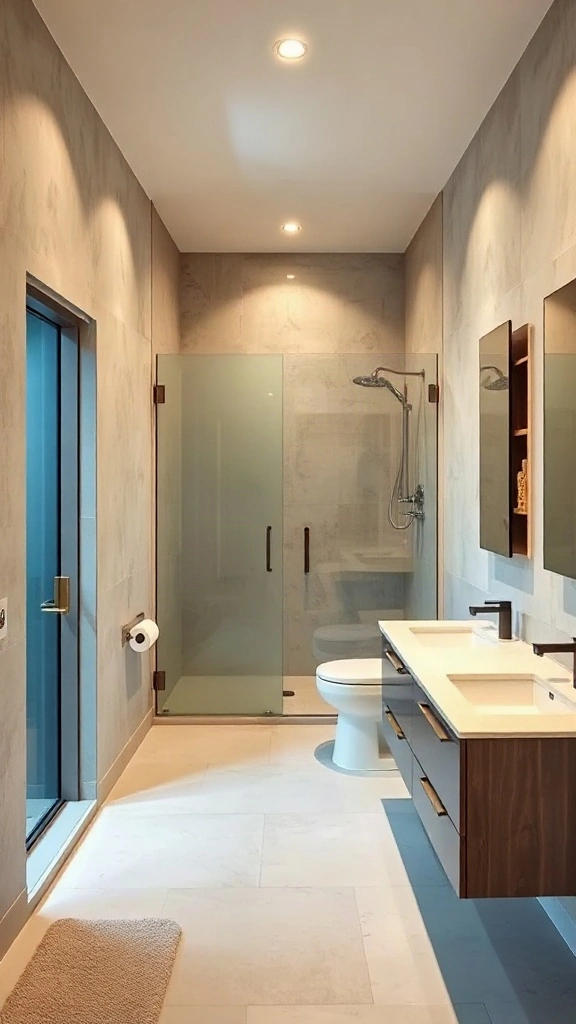
Privacy in a shared primary bathroom is non-negotiable for many homeowners. Dividing a long room into distinct functional sections by placing a dedicated water closet at the mid-point works remarkably well. It turns an awkwardly long room into two intentional, private spaces.
Frame the water closet with a minimum interior dimension of 36 inches wide by 60 inches deep to comply with standard plumbing accessibility codes. A frosted glass door lets natural light pass while maintaining absolute privacy.
⚠️ Where People Go Wrong:
Using a standard inward-swinging door for the toilet room. If someone collapses inside, the door gets blocked. Always use an pocket or outward-swinging door.
9. Double Galley Layout with Center Runway
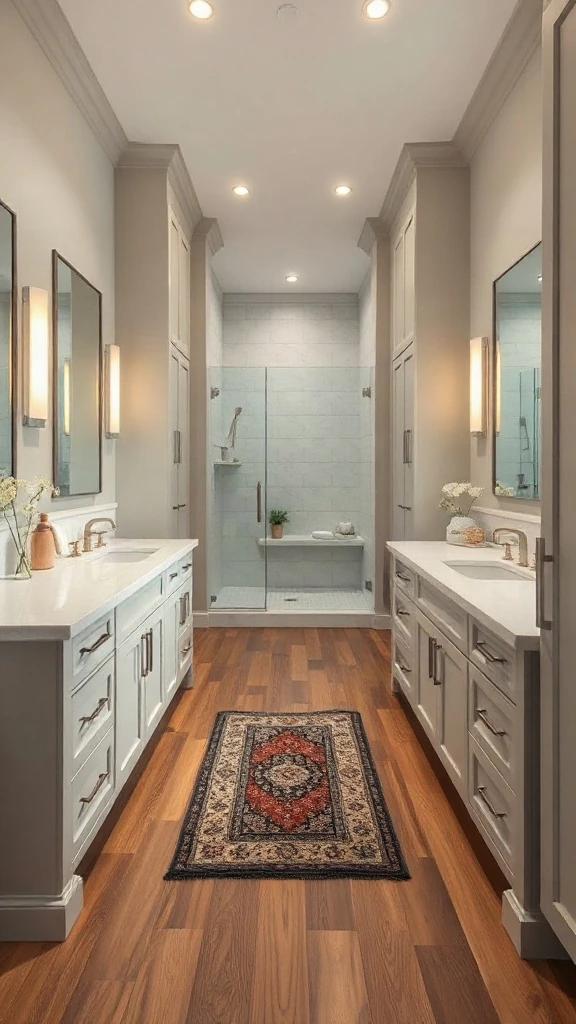
Galley kitchens are famous for incredible culinary efficiency, and galley bathrooms offer the exact same functional punch. Lay out your sinks and counter space on one side, with built-in linen towers and a walk-in shower directly opposite. The central aisle serves as your main circulation path.
Ensure your center aisle measures at least 36 to 42 inches wide. Anything narrower feels tight when two people get dressed simultaneously. Add a long washable vintage runner rug down the middle to soften the corridor.
💡 Pro Styling Move:
Avoid overhead central ceiling lights that cast harsh shadows down your body. Stick to vertical wall sconces paired with warm under-cabinet kicks.
10. Recessed Storage Wall along Main Passage
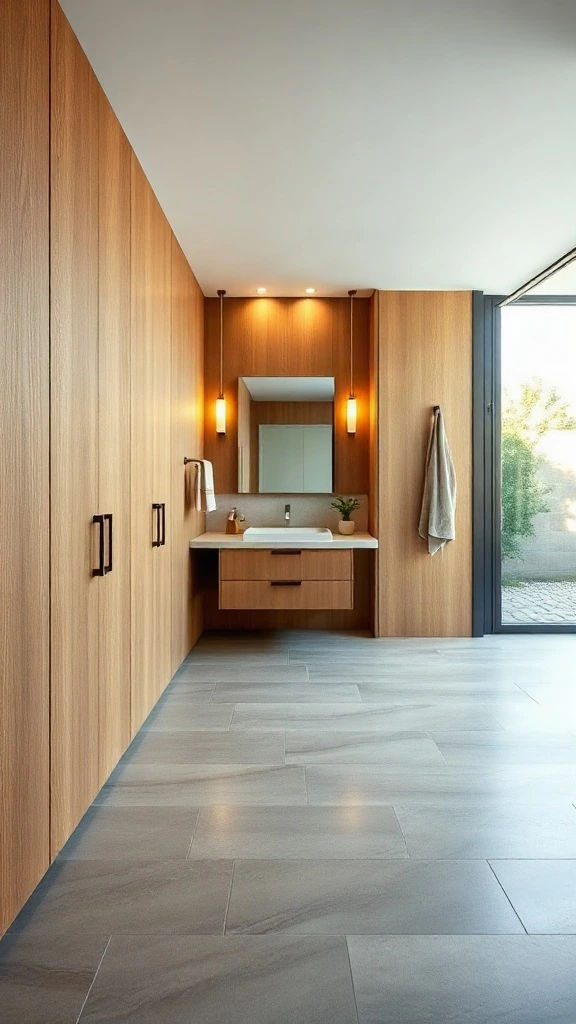
Bulky freestanding storage units eat up crucial floor area in narrow bathrooms. My favorite design trick is carving out storage between the existing 2×4 or 2×6 wall studs. Building shallow 4-inch to 6-inch deep recessed medicine cabinets and linen niches along the walkway preserves every inch of floor clearance.
Fit these wall cavities with push-latch cabinet doors painted the exact color of your walls. They vanish entirely when closed, giving you massive storage without physical clutter crowding your passage.
💡 Pro Styling Move:
Line the inside of open recessed niches with rich oak or walnut veneer to introduce warmth against cool tile surfaces.
11. Asymmetrical Mirror Axis with Cantilevered Counter
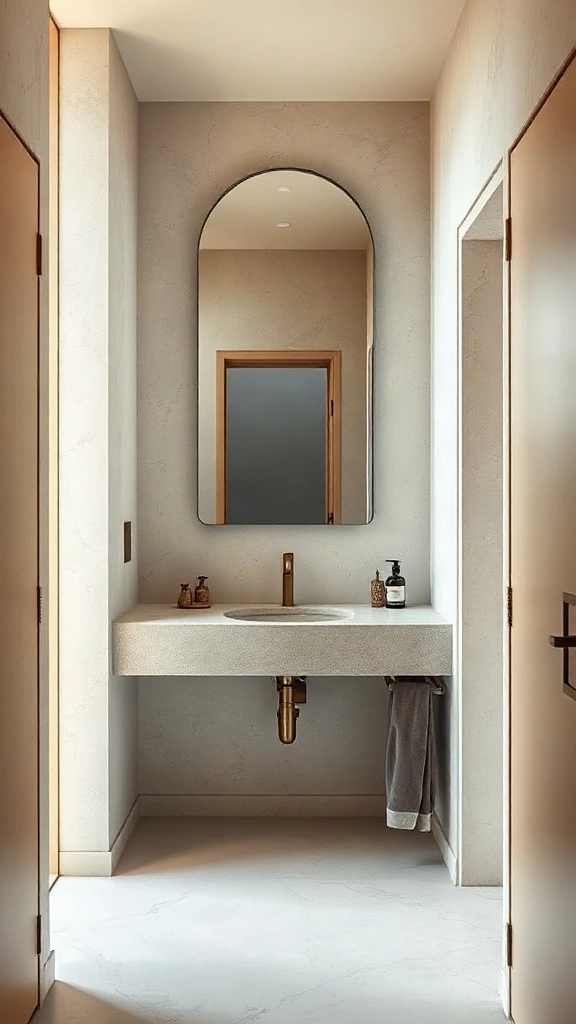
Symmetry is overrated, especially when dealing with weird room dimensions. Offsetting your sink counter to one side creates a long continuous counter edge that leads the eye forward smoothly. A wall-mounted faucet frees up deck space, letting you specify a narrower 16-inch deep counter.
Pair this with an oversized floor-to-ceiling mirror placed off-center. The tall reflection breaks up horizontal corridor lines, making the ceiling feel significantly taller while brightening dim corners.
⚠️ Where People Go Wrong:
Mounting counter-top faucets on ultra-narrow vanities. Faucets should be wall-mounted when counter depth drops below 18 inches.
12. Skylight-Focused Central Axis Layout
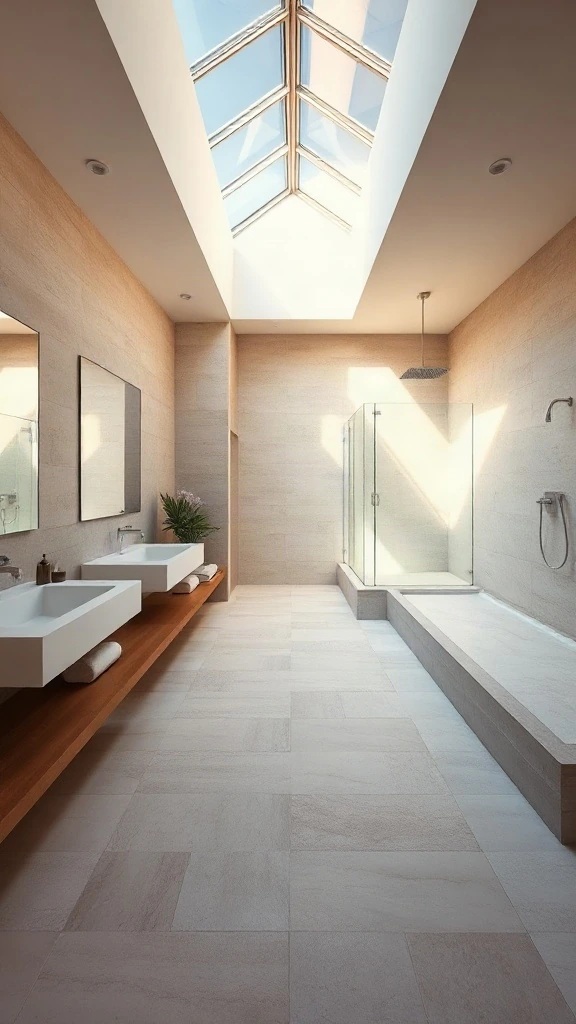
Windowless narrow master bathrooms can feel like subterranean vaults. Installing a long linear skylight running parallel down the primary circulation axis changes everything. Overhead daylight floods the entire length of the room, turning tight walls into airy vertical planes.
Align your major fixtures right underneath the natural light beam. The changing sun shifts reflections across your tiles throughout the day, completely removing any cramped feeling.
💡 Pro Styling Move:
Use matte-finish stone or zellige tile on the wall under the skylight to diffuse intense midday sunlight into a warm, soft glow.
13. Elevated End-Platform Spa Zone
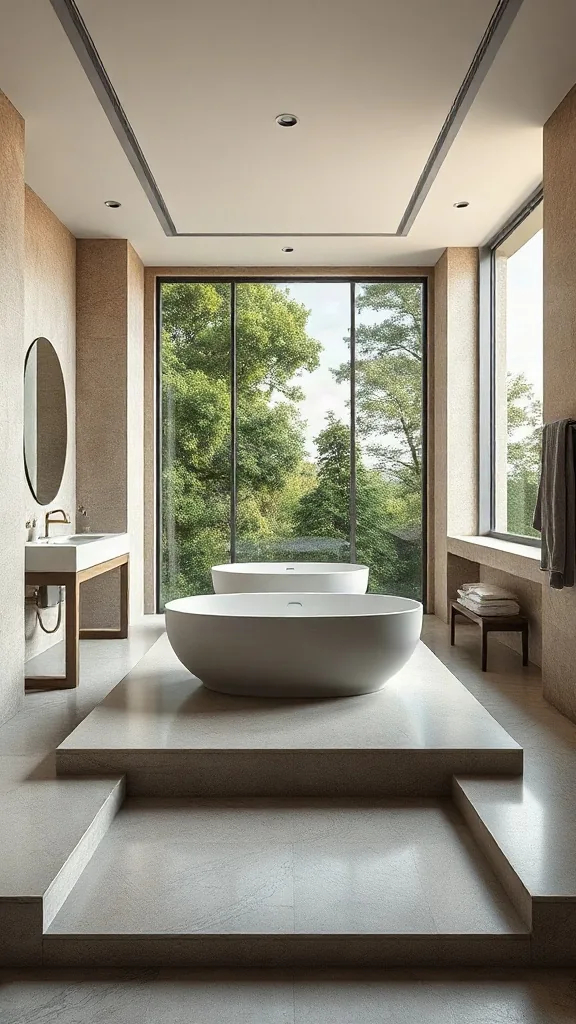
When client square footage is long and narrow, horizontal planes get boring fast. I elevated the rear tub zone by six inches for a project in Denver. Pure magic. It breaks the bowling-alley illusion instantly. The clients felt like they stepped into a boutique alpine lodge every evening. It completely redefined their routine. Simple shift, massive payoff.
Build a 6-to-8-inch raised platform spanning the final 6 feet of your rectangular footprint. Use slip-resistant limestone or water-sealed thermo-treated ash. Ensure step depth is at least 14 inches for safety, and install low-voltage 2700K LED channel strips beneath the riser lip to float the structure effortlessly.
💡 Pro Styling Move:
Run your floor tile continuously up the riser face using mitered edges to make the raised platform look like a solid architectural plinth carved directly from stone.
14. Crittall-Framed Steel Partition Corridor
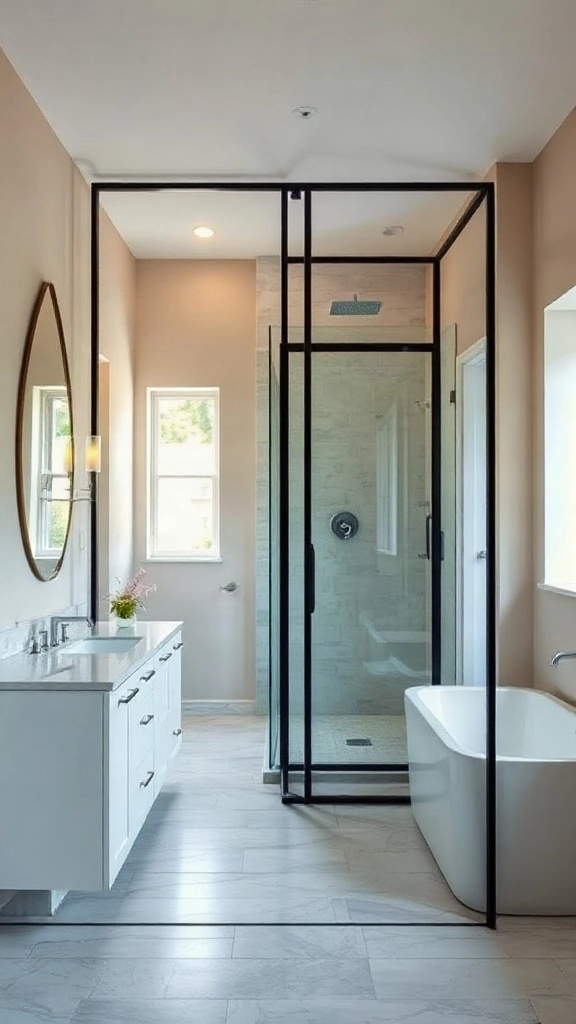
Solid walls choke narrow bathrooms. Frameless glass can feel sterile. I used matte black Crittall-style steel glazed screens to partition an 18-foot long brownstone bath into distinct zones. Sightlines remained open. Steam stayed contained. Total privacy achieved. The grid adds structural rhythm where long walls usually feel endless. The homeowners loved the tailored, bespoke industrial edge.
Position steel-framed dividing screens at least 36 inches clear of your vanity centerline to preserve elbow clearance. Opt for 1.5-inch slender steel mullions with laminated reeded glass panels between the shower and vanity to disguise water droplets while diffusing incoming morning daylight.
⚠️ Where People Go Wrong:
Using standard powder-coated mild steel in high-steam zones leads to rust within years; always mandate marine-grade electro-galvanized steel or architecturally finished aluminum framing.
15. Staggered Dual-Vanity Offset Alignment
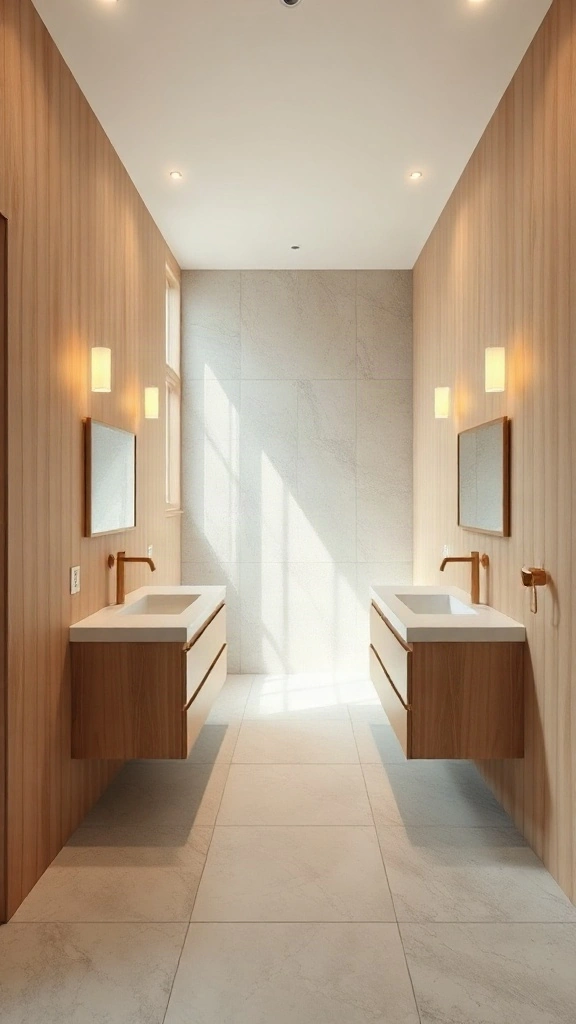
Shoving two sinks together on one narrow wall guarantees bumped elbows. In a Seattle remodel, we split them up. We offset the husband and wife vanity stations diagonally across opposing walls. It transformed traffic flow. No more morning collisions. Each partner gets an independent personal sanctuary. The space feels intentional and balanced rather than cramped.
Maintain a minimum 48-inch diagonal clearance between opposing vanity fronts so two people can stand back-to-back comfortably. Keep each vanity console between 36 and 42 inches wide with integrated under-sink drawers to maximize storage along narrow rectangular pathways.
💡 Pro Styling Move:
Hang identical back-lit arched mirrors above each offset station to create an undulating visual rhythm that pulls the eye through the elongated room.
16. Continuous Perimeter Dado Ledge Layout
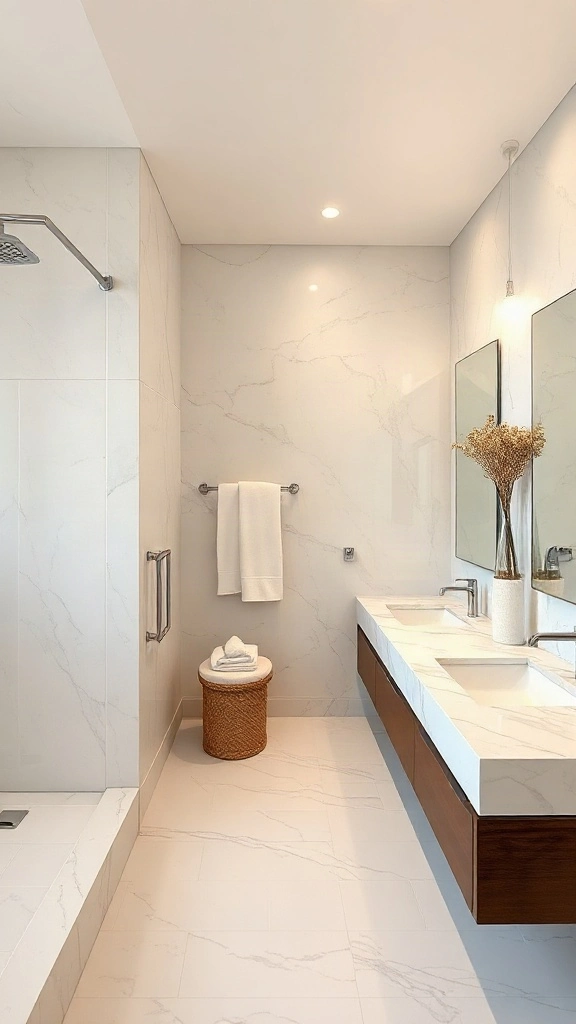
Narrow rooms can look disjointed with scattered niches and soap dishes. Clutter builds fast. I designed an unbroken stone ledge running thirty feet down the main wall of an Austin ensuite. It carries from vanity to shower without stopping. Seamless beauty. The owners display artwork, decanted bath salts, and daily essentials effortlessly. It ties everything together.
Build out a 4-to-6-inch plumbing chase wall capped at precisely 42 inches high with a single continuous slab of honed quartzite or marble. This integrates wall-mount faucets, provides built-in toiletry shelves inside the shower, and eliminates the need for messy tiled niches.
⚠️ Where People Go Wrong:
Failing to slope the stone capping 1/8 inch forward inside wet areas causes standing water to pool against rear wall grout joints, building mold buildup.
17. Pass-Through Dressing Corridor Integration
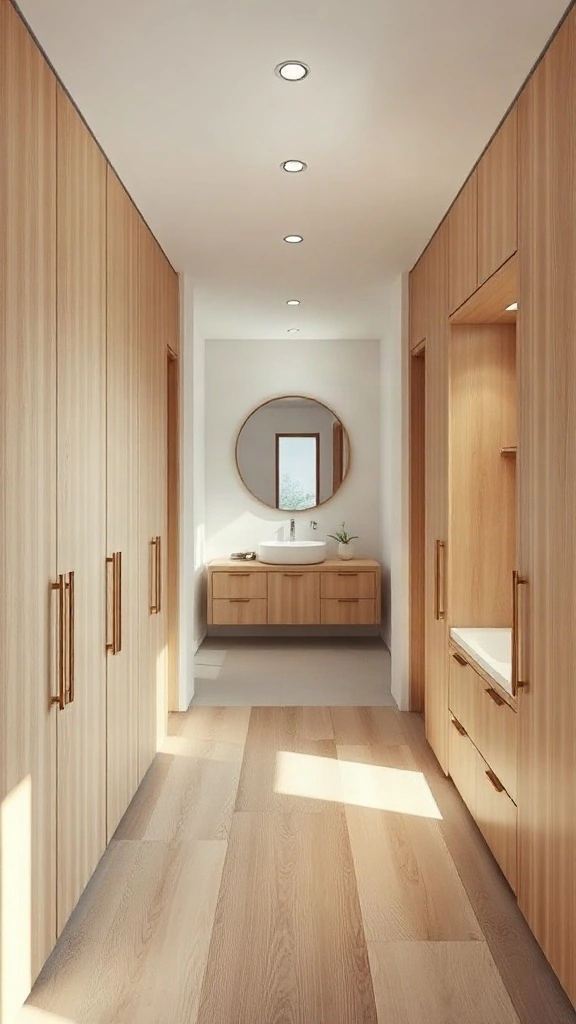
Long rectangular footprints often connect bedrooms directly to walk-in closets. Why build barriers? In a Chicago penthouse, we treated the entire rectangle as a unified passage. Wardrobes flank one side; floating vanity and wet zone line the other. Smooth morning circulation. The owners glide from shower to wardrobe in three steps. It flows like a five-star suite.
Allocate 40 inches for the central walking corridor between the wardrobe doors and bathroom plumbing fixtures. Choose push-to-open flat-panel cabinetry without hardware to maintain an unencumbered pathway, and specify concealed ventilation fans rated at 150+ CFM to safeguard clothing from steam.
💡 Pro Styling Move:
Conceal wardrobe hardware behind seamless touch-latches and install full-height floor-to-ceiling smoked mirror panels on wardrobe ends to visually double the narrow walkway’s width.
18. Back-to-Back Central Island Vanity Plan
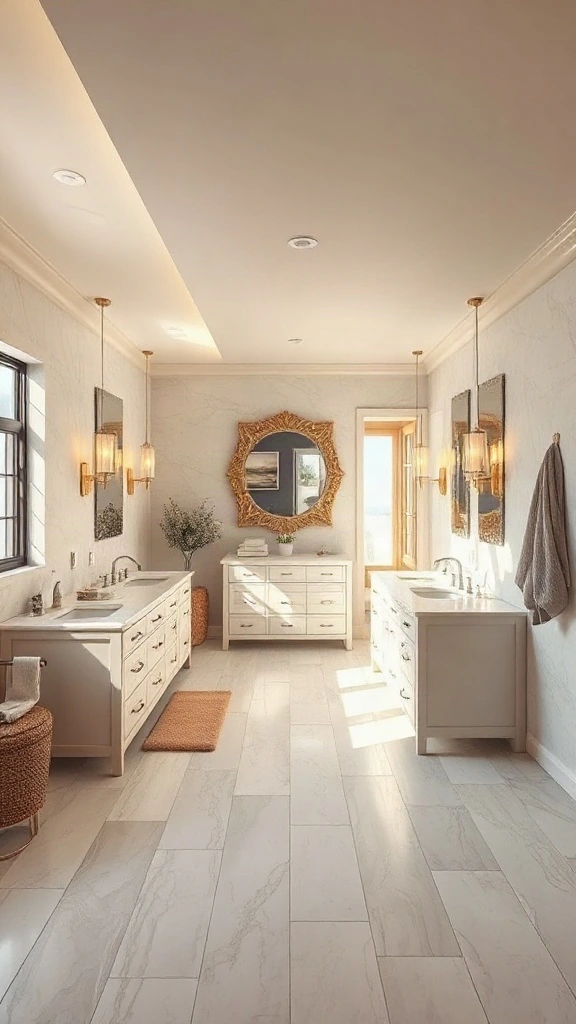
Clients always assume vanities must stick to perimeter walls. Not true. In a wider 10×22 rectangular space, we placed the double vanity smack in the center. Island living. One side holds sinks, the back holds dressing mirrors and storage. Dual tracks around it prevent jams. It instantly commanded the space. The clients felt like royalty.
Ensure the room measures at least 9.5 feet wide before attempting a central island. Keep perimeter walkways at a disciplined 34 inches wide on both sides. Drop ceiling-suspended mirrors or use an integrated mid-height partition spine to anchor double-sided cabinetry without blocking overhead natural light.
⚠️ Where People Go Wrong:
Forgetting that plumbing supply lines and waste pipes must run through the floor framing beneath the island; inspect floor joist directions before committing to this layout.
19. Diagonal-Offset Deep Soaking Alcove
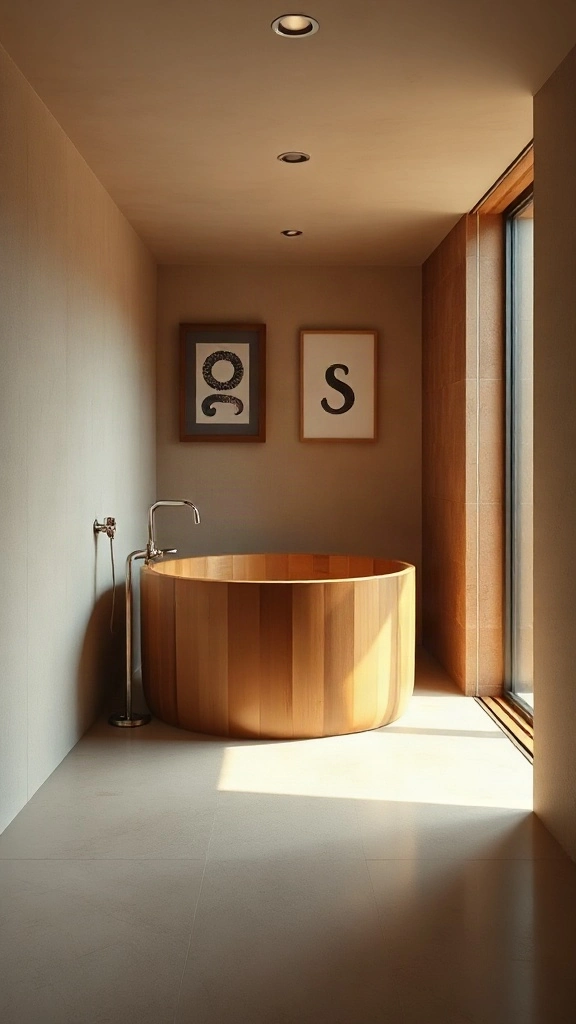
Strict rectangular lines can become visually rigid. Monotony creeps in. In a historic Boston carriage house, we set a compact round soaking tub at a 45-degree angle in the rear corner. It softens the room immediately. The angled footprint freed up extra corner space behind the tub for plants and tall deck-mounted fillers. It broke the tunnel effect effortlessly.
Select a compact 48-to-54-inch circular Japanese ofuro or Japanese-style acrylic soaking tub. Angling it 45 degrees requires approximately 56 square inches of corner clearance, leaving plenty of circulation room for a curbless walk-in shower on the opposite wall.
💡 Pro Styling Move:
Install a triangular corner-wrapped floating timber shelf behind the angled tub to fill the dead space while offering a stylish perch for bath brushes and oils.
Want more visual inspiration? Follow our Cozy Bathroom Layouts Board on Pinterest for daily interior design ideas!
20. Monolithic Microcement Wet Corridor with Concealed Trench Drain
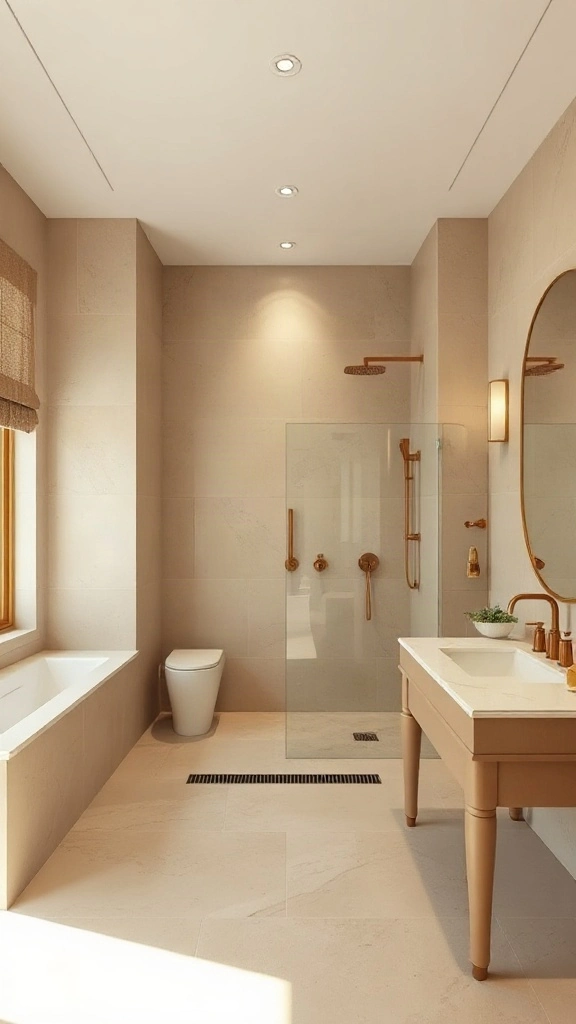
Grout lines slice narrow bathrooms into tiny visual fragments. It feels suffocating. For a Palm Springs retreat, we coated the entire long room in seamless microcement from entry door to back shower wall. No curbs. No joints. Total calm. Walking in feels like entering a tranquil desert cave. The uninterrupted floor plane expands the spatial boundary dramatically.
Pitch the entire floor at a subtle 1/4-inch per foot slope toward a wall-to-wall perimeter trench drain hidden along the far short wall. Use waterproof polyurethane topcoats with an anti-slip R10 rating to ensure safety without compromising the buttery, velvety surface finish.
⚠️ Where People Go Wrong:
Applying microcement over an improperly stabilized subfloor; any deflection or bounce in wood joists will cause hairline cracking across your seamless surface over time.
Master Comparison: Key Approaches at a Glance
| Approach / Style | Best For | Space Requirement | Estimated Cost | Key Styling Pro Tip |
|---|---|---|---|---|
| Single-Wall Plumbing Corridor | Tight budgets & extremely narrow rooms | 5 ft x 11 ft min | $8,000 – $14,000 | Keep all drain lines aligned on one wall to slash rough-in costs. |
| End-Wall Wet Room | Spa feel in long rooms with windows | 6 ft x 12 ft min | $16,000 – $26,000 | Use a curbless transition with a linear drain along the rear boundary. |
| Floating Vanity & Parallel Shower | Shared couple spaces needing flow | 7 ft x 12 ft min | $14,000 – $22,000 | Mount vanity 10 inches off the floor to reveal floor tiles beneath. |
| Double Galley Layout | Maximized storage and counter space | 6.5 ft x 13 ft min | $12,000 – $20,000 | Keep at least 36 inches of open walkway down the center aisle. |
| Enclosed Water Closet Split | Maximum privacy in primary suites | 8 ft x 14 ft min | $18,000 – $28,000 | Install frosted pocket glass doors to avoid swinging door collisions. |
Frequently Asked Questions
What is the minimum width needed for a functional rectangular master bathroom layout?
The absolute minimum width for a comfortable rectangular master bathroom is 5 feet (60 inches). This allows for a standard 30-inch clearance aisle alongside 30-inch fixtures like vanities, toilets, or walk-in showers. If you want double vanities or a tub, 7 feet of width is ideal.
How do you layout a narrow 5×10 master bathroom?
In a 5×10 space, place all plumbing along one single long wall. Start with a 36-inch floating vanity near the entrance, place the toilet in the middle, and install a 30×60-inch walk-in shower along the back short wall. Use a glass shower door to maintain line of sight.
Where should the shower be placed in a long, narrow master bathroom?
The far short wall is almost always the best location for a shower in long, narrow bathrooms. Placing the shower at the end anchors the floor plan, creates a beautiful focal point, and prevents shower enclosure glass from crowding your main entrance aisle.
Can you fit a double vanity in a narrow master bathroom?
Yes, provided you have at least 60 inches of wall length available. To keep the room from feeling cramped, choose a wall-mounted floating double vanity with a narrow 18-inch depth and utilize wall-mounted faucets to preserve precious counter surface space.
Conclusion & Styling Takeaways
Transforming a long, narrow master bathroom comes down to smart spatial balance and sharp sightlines. Prioritize linear plumbing runs, use light-reflecting glass, and float heavy cabinetry off the floor to open up your walkway. Save these layouts to your Pinterest design boards and explore our full range of interior design guides on cosyneststudio.com for more project inspiration!