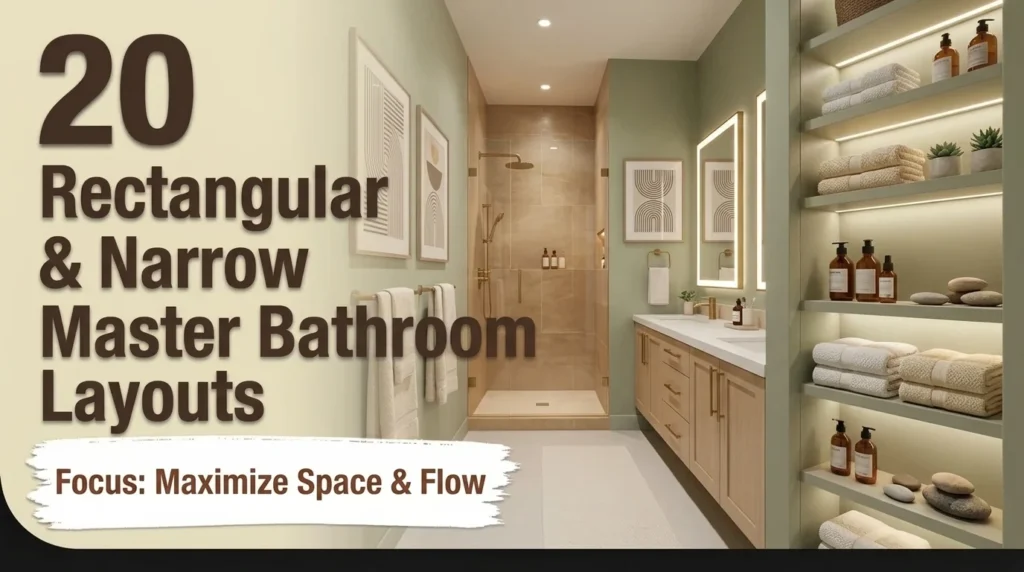






Nailing down practical master bathroom layouts usually feels like wrestling with an expensive jigsaw puzzle. You want a generous walk-in shower, a deep soaking tub, and double sinks, but square footage rarely cooperates. Let’s look at real floor plans, exact clearances, and blueprints that actually work without wasting precious plumbing budgets.
Overview of Modern Master Bathroom Layouts Solutions
13. The Asymmetrical L-Shaped Corner Core
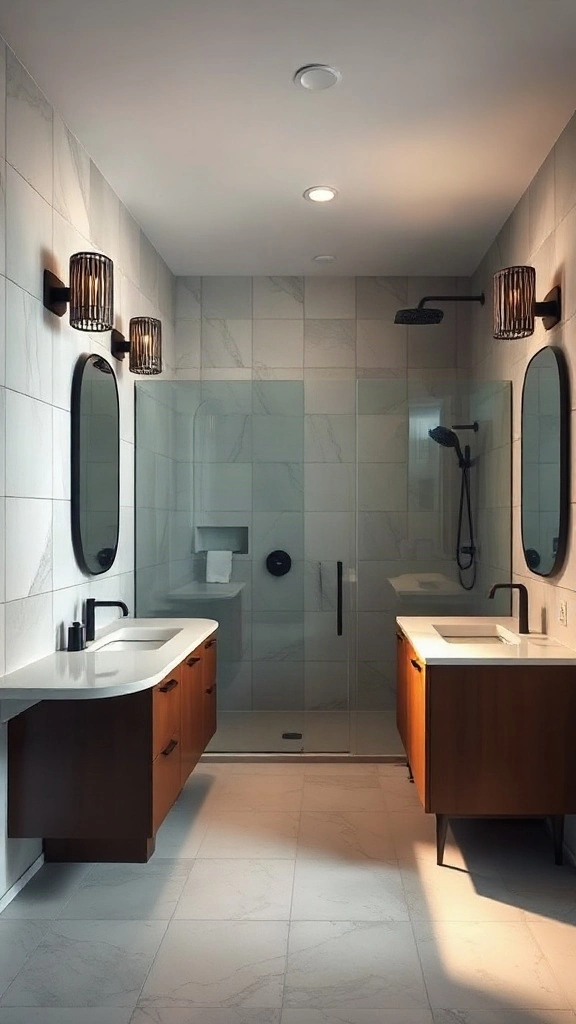
We tucked the heavy elements along the perimeter. It completely transformed a clunky square footprint. Movement feels entirely natural now. The corner flow is seamless.
Anchor the L-shape by placing a 48-inch floating vanity on one wall and a curbless shower against the adjoining wall. Maintain at least 36 inches of clear central walking space to prevent spatial bottlenecks in daily routines.
💡 Pro Styling Move:
Install an oversized wall-to-wall mirror on the primary axis to bounce light deep into the L-shaped corner.
14. The Linear Pass-Through Dressing Corridor
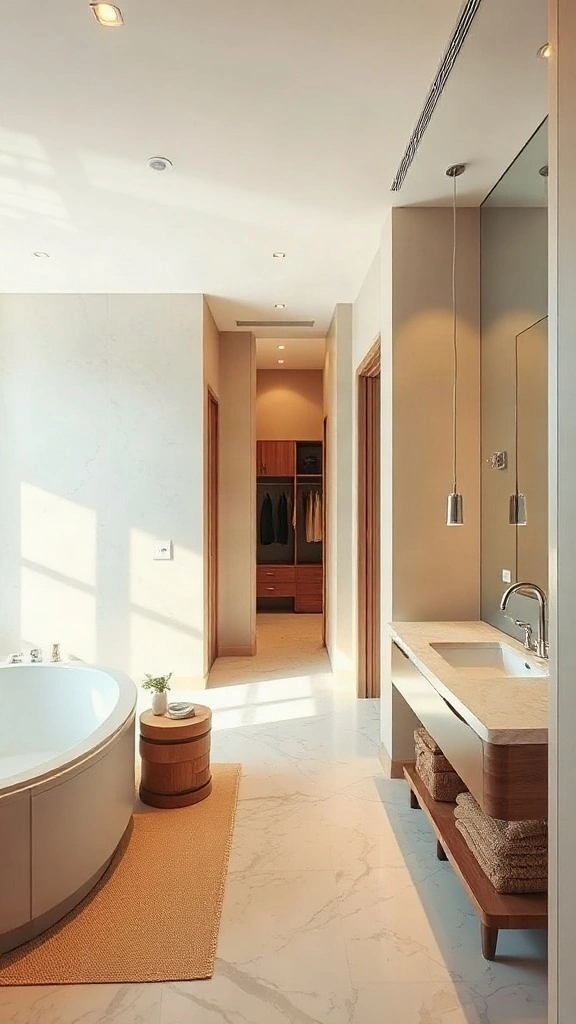
Clients always worry about narrow spaces. This pass-through design makes getting dressed effortless. Everything is right at your fingertips. Total huge upgrade.
Keep the corridor at least 5 feet wide to accommodate open wardrobe doors on both sides. Position the enclosed wet zone at the ultimate terminus of the hall for maximum privacy.
⚠️ Where People Go Wrong:
Forgetting proper ventilation in pass-through layouts allows lingering humidity to warp custom wood closet millwork.
15. The Offset Peninsula Vanity Layout
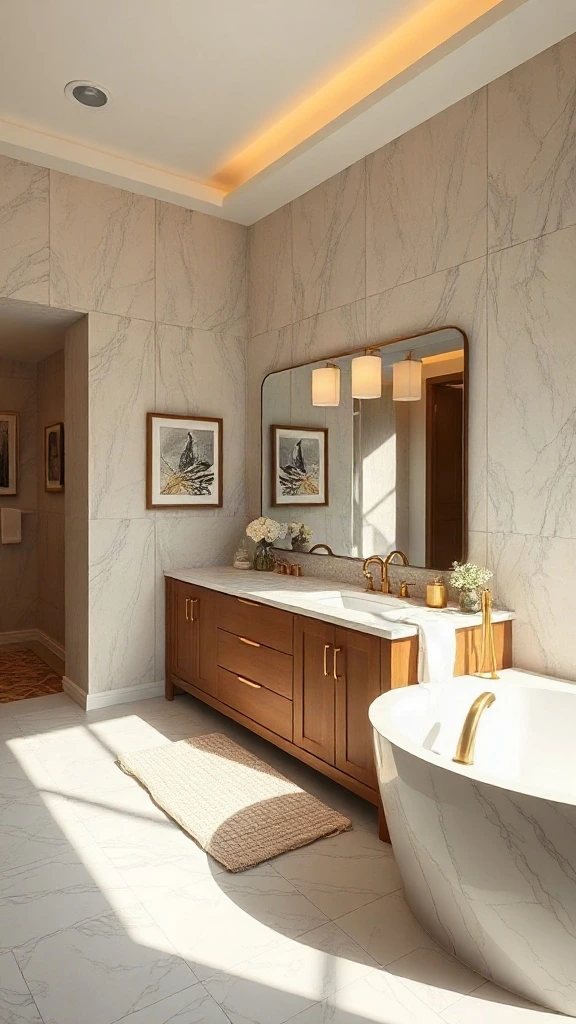
Floating a vanity off the side wall feels daring. It breaks up boring rectangular rooms instantly. Clients love the dual-sided natural lighting effect.
Extend the peninsula vanity 60 inches out with finished side panels. Ensure a minimum 38-inch clearance around all three exposed sides to maintain ergonomic comfort during morning routines.
💡 Pro Styling Move:
Use drop pendant lights framing the peninsula instead of a standard overhead fixture for dramatic hotel-like ambiance.
16. The Stepped-Elevation Tub Stage
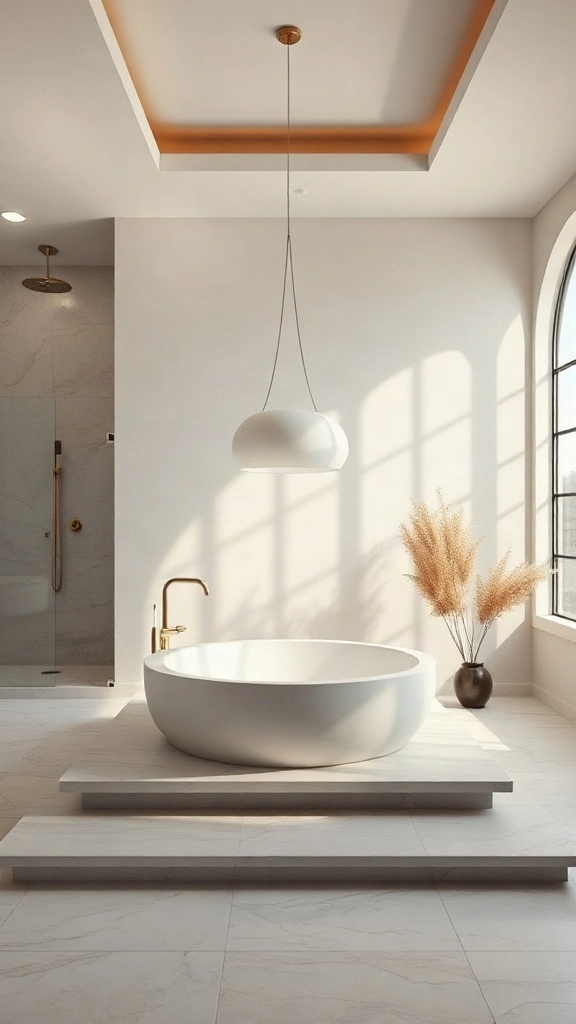
upgrading the tub changes your entire perspective. It feels like an exclusive spa retreat. Unwinding here is unmatched. Pure luxury.
Construct a low 8-inch platform that extends at least 18 inches beyond the tub perimeter to create a functional ledge for towels, candles, and artisan bath accessories.
⚠️ Where People Go Wrong:
Failing to include slip-resistant tile finishes on wet platform steps creates a serious post-bath safety hazard.
17. The Dual-Entry Walk-Around Shower Core
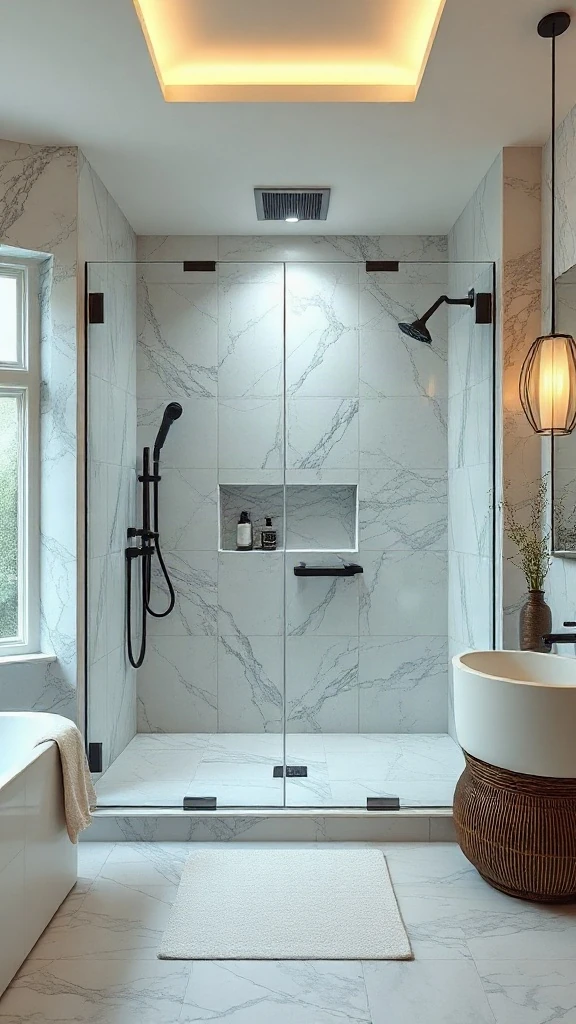
We put the glass shower dead center. Traffic flows freely around it. No more waiting for your partner to move. It’s brilliant engineering.
Design a central glass volume measuring at least 4×5 feet. Leave a continuous 36-inch perimeter walkway completely unobstructed around all four exterior sides of the shower enclosure.
💡 Pro Styling Move:
Run continuous large-format porcelain floor tiles straight through the central shower drain to visually expand the floor space.
18. The Perimeter Vanity Wrap Blueprint
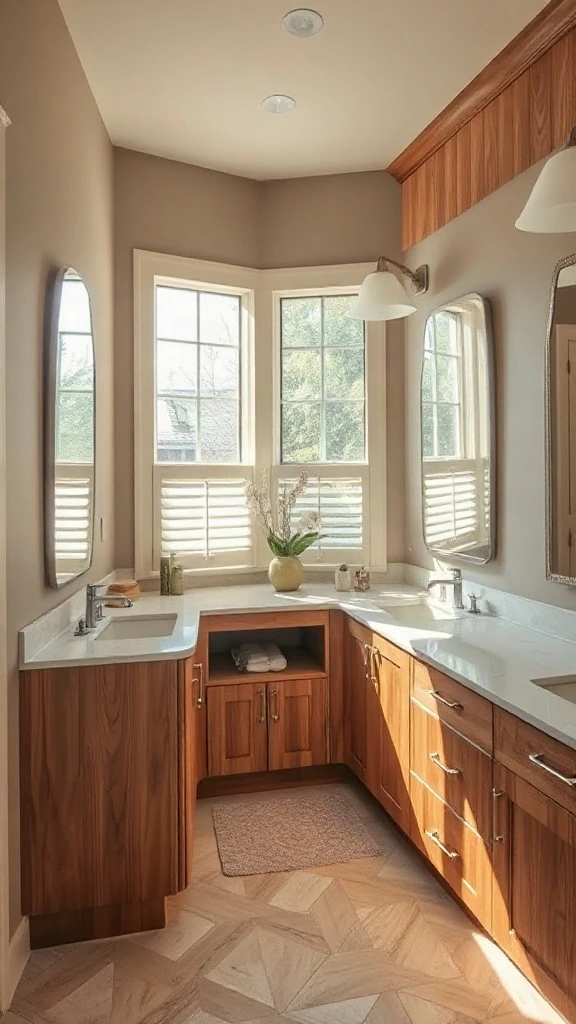
Counter space was the absolute priority here. We wrapped the vanity around the corner. Storage issues vanished overnight. Massive upgrade.
Allocate 72 inches for the primary sink run and an adjacent 48 inches for the makeup or secondary grooming station along the adjoining wall, connected by a seamless mitered stone countertop.
⚠️ Where People Go Wrong:
Placing cabinet drawers directly into the corner intersection blocks full extension and causes frustrating hardware collisions.
19. The Axis-Aligned Floating Partition Plan
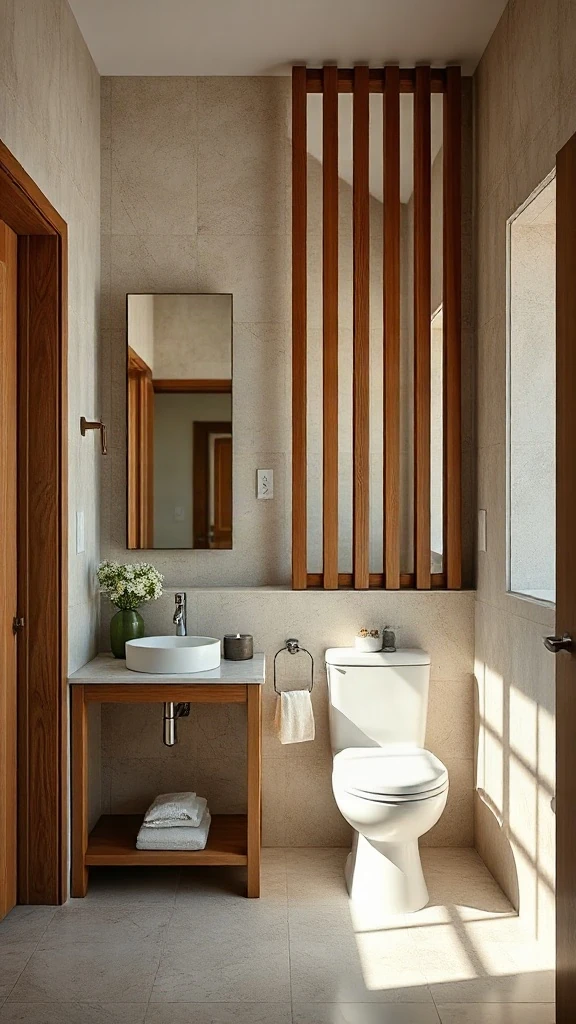
Open floor plans need subtle boundaries. This half-wall partition provides privacy without killing the natural light. It strikes the ideal balance.
Build a 54-inch high partition wall finished in vertical oak paneling or waterproof plaster. Keep it detached from the ceiling to maintain an airy, uninterrupted volume overhead.
💡 Pro Styling Move:
Embed a linear LED strip along the top edge of the partition for soft, indirect architectural ceiling wash lighting.
20. The Vaulted Sanctuary End-Cap Layout
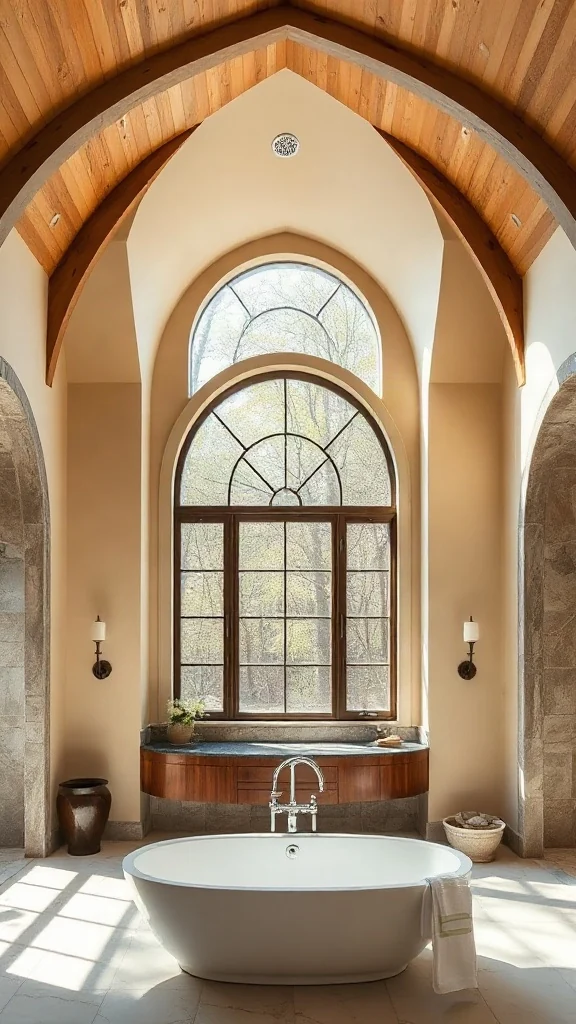
High architectural ceilings change everything. We oriented the entire layout around the vertical peak. It feels like a cathedral of calm. Breathtaking.
Position your statement freestanding tub directly below the apex of the vaulted ceiling, flanking the sides with symmetrical low-profile storage towers to anchor the soaring vertical scale.
⚠️ Where People Go Wrong:
Neglecting to plan window treatments for high arched glass leads to intense glare and zero nighttime privacy.
Master Comparison: Key Approaches at a Glance
| Approach / Style | Best For | Space Requirement | Estimated Cost | Key Styling Pro Tip |
|---|---|---|---|---|
| Single-Wall Wet Run | Budget renovations & narrow rooms | 40 to 65 sq ft | $8,000 – $15,000 | Keep fixtures inline to avoid trenching concrete floors. |
| Central Soaking Axis | Square rooms & statement tubs | 100 to 140 sq ft | $18,000 – $32,000 | Center the tub on your main sightline from the bedroom door. |
| Split Vanity Galley | Busy couples needing personal space | 75 to 110 sq ft | $14,000 – $24,000 | Maintain 42 inches between opposite counters to prevent bumping elbows. |
| Enclosed Wet Room | Contemporary spa feel in mid-size spaces | 80 to 120 sq ft | $20,000 – $38,000 | Slope floors directly toward a linear trench drain along the back wall. |
| Corner Pocket Master | Older homes & tiny master suites | 35 to 55 sq ft | $7,000 – $13,000 | Use wall-hung toilets and neo-angle glass shower doors. |
| Partitioned Water Closet | Maximum morning routine privacy | 110 to 160 sq ft | $22,000 – $42,000 | Add frosted glass transoms above the toilet door for natural light. |
1. The Single-Wall Plumbing Run
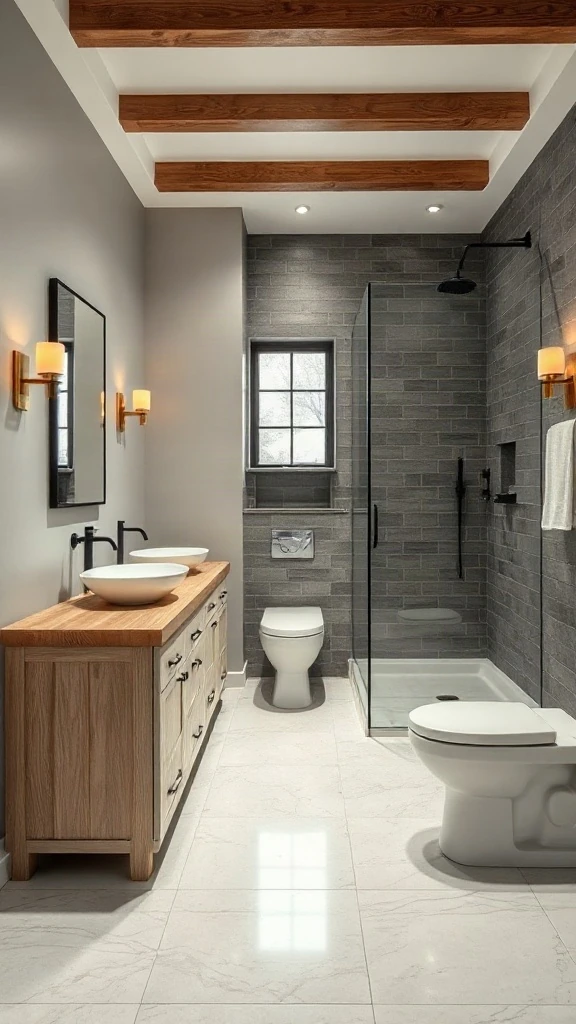
I recommend this blueprint whenever clients want luxury fixtures without burning thousands on plumbing relocation. In this floor plan, your sink vanity, toilet, and walk-in shower share one single wet wall. It saves massive labor costs. Much like planning an ideal kitchen layout with tight plumbing lines, keeping your supply and waste pipes grouped inside one stud wall prevents structural headaches.
To make this layout shine visually, anchor the far end with an open walk-in shower. Keep the glass completely clear. When your eye travels past the vanity straight to the shower tile, the room instantly looks ten feet deeper than it really is.
💡 Pro Styling Move:
Mount your vanity taps on the wall rather than the deck. You gain three inches of usable counter depth, which transforms daily morning routines.
2. Central Soaking Tub Axis
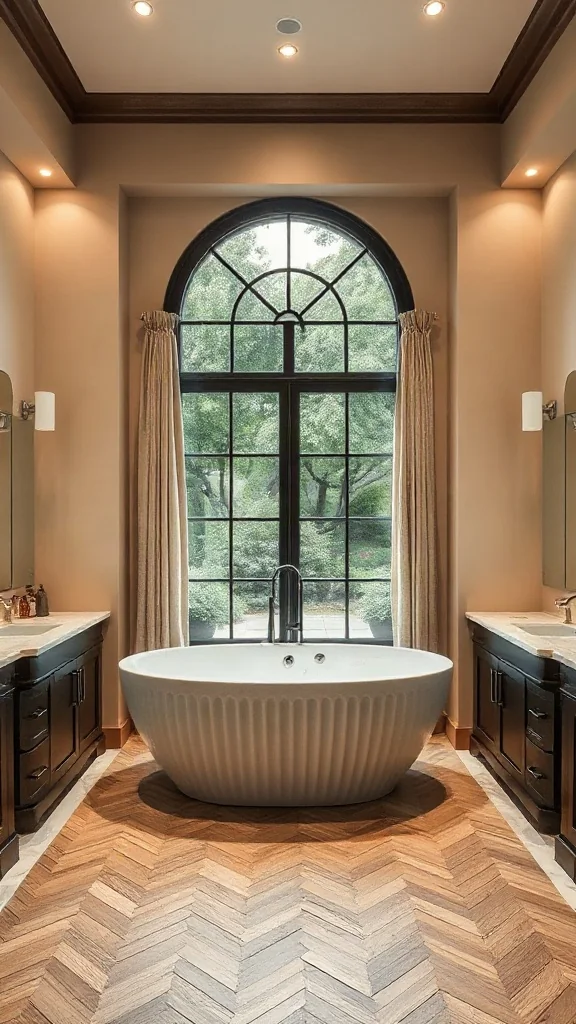
Walk into the room and boom, there it is. A gorgeous tub commanding the center stage. This layout works wonders for square spaces measuring roughly 10 by 12 feet. It pulls inspiration from high-end resort suites and creates an inviting rhythm. If your bedroom features cozy, romantic master bedroom decor, carrying that relaxed visual warmth straight toward a centered soaking tub feels effortless.
You will need at least thirty inches of clear walkway around the tub perimeter. Do not cram a tub into the middle if you must squeeze past it sideways. Nobody enjoys stubbing toes on cast iron every single morning.
⚠️ Where People Go Wrong:
Buying a 67-inch tub when the room only has clearance for a 59-inch model. Measure your clearances to ensure you can actually wipe down the floor behind it.
3. Split Vanity Galley Corridor
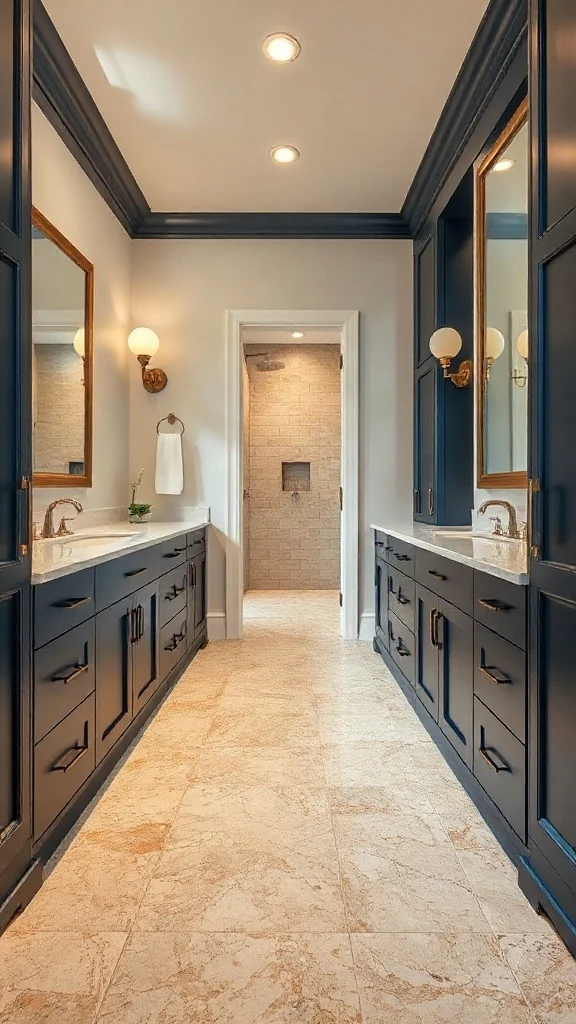
Sharing a single counter surface with a partner gets old fast. Splitting vanities across two opposite walls solves the territorial battles over hair tools and skincare bottles. In my remodels, this blueprint transforms awkward long, narrow rooms into productive prep spaces. You each get your own drawers, mirror, and counter kingdom without bumping shoulders.
Take cues from a classic interior design styles list to coordinate the two stations with matching millwork while letting personal organizers vary inside. Keep forty-two inches of clear hallway floor between both vanity edges so doors open easily.
💡 Pro Styling Move:
Install dimmable vertical bar sconces right at eye level on both sides of each mirror. Overhead recessed cans cast harsh under-eye shadows every single time.
4. The Enclosed Glass Wet Room
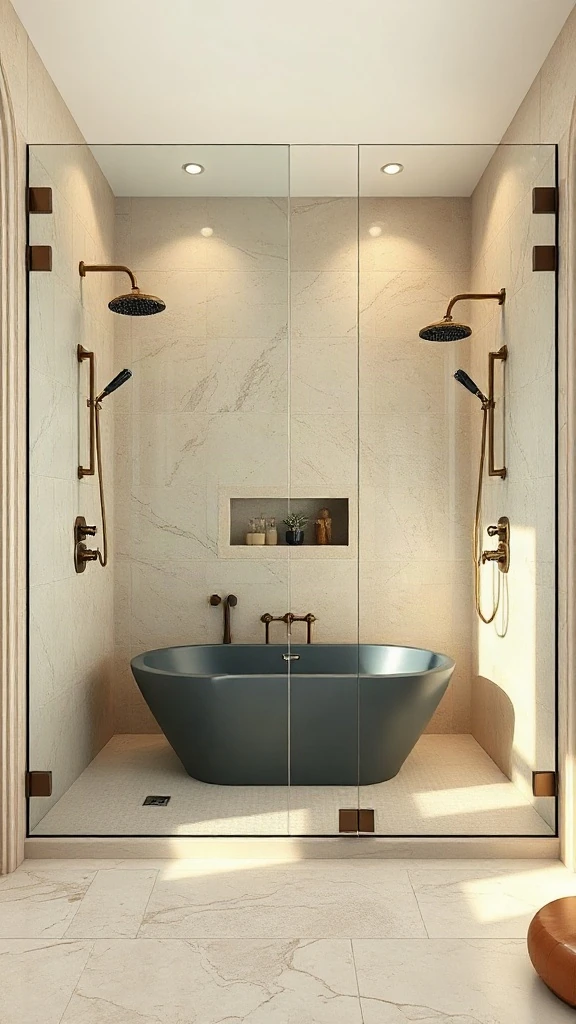
Wet rooms are everywhere right now, and for good reason. They combine the shower stall and freestanding tub inside one sealed, waterproof zone. It fixes the cold-draft issue common in massive showers. Because splashing is contained entirely within the wet area, the dry vanity zone stays completely dry and safe from puddles.
Proper drainage is critical here. Review official standard specs such as The Spruce’s bathroom clearance guidelines before finalizing floor slopes. You need a dedicated quarter-inch drop per foot directed toward a sleek linear drain.
⚠️ Where People Go Wrong:
Skipping the mechanical exhaust upgrade. A wet room traps immense moisture, so install an ultra-quiet fan rated for at least 110 CFM.
5. Walk-Through Double-Door Suite
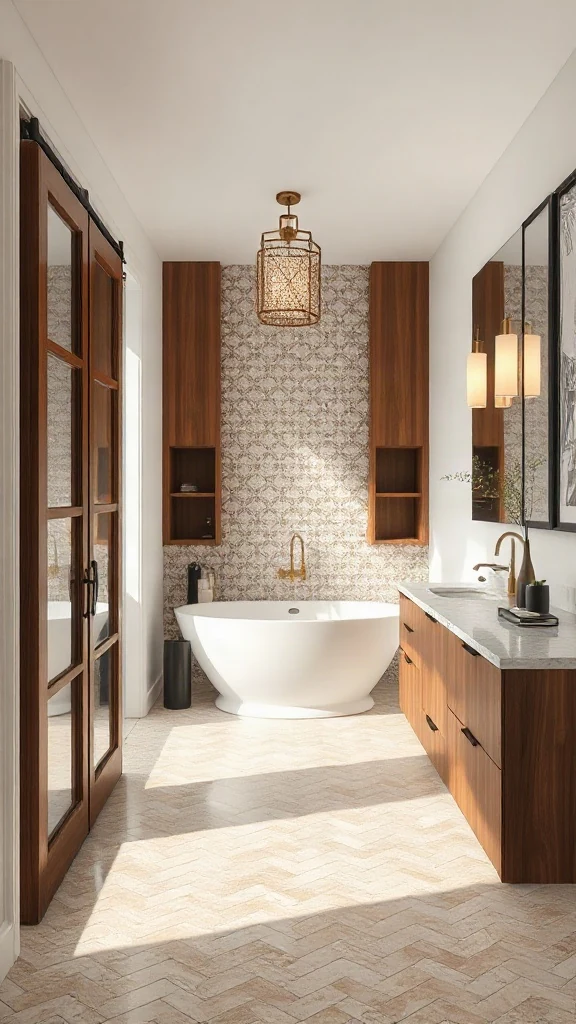
This blueprint creates a seamless morning route between the sleeping quarters, bath area, and walk-in closet. You wake up, shower, groom, dress, and exit without ever backtracking across the room. I love using sliding pocket doors with reeded glass panels for this setup. They tuck right inside the wall cavity, conserving floor space while letting daylight spill across rooms.
Keep your wet shower components off the main transit spine. Nobody wants to brush past damp shower walls while carrying clean work clothes into the dressing room.
💡 Pro Styling Move:
Choose pocket doors with acoustic drop seals on the bottom. It stops early morning running water noise from waking a sleeping partner.
6. Corner-Pocket Compact Blueprint
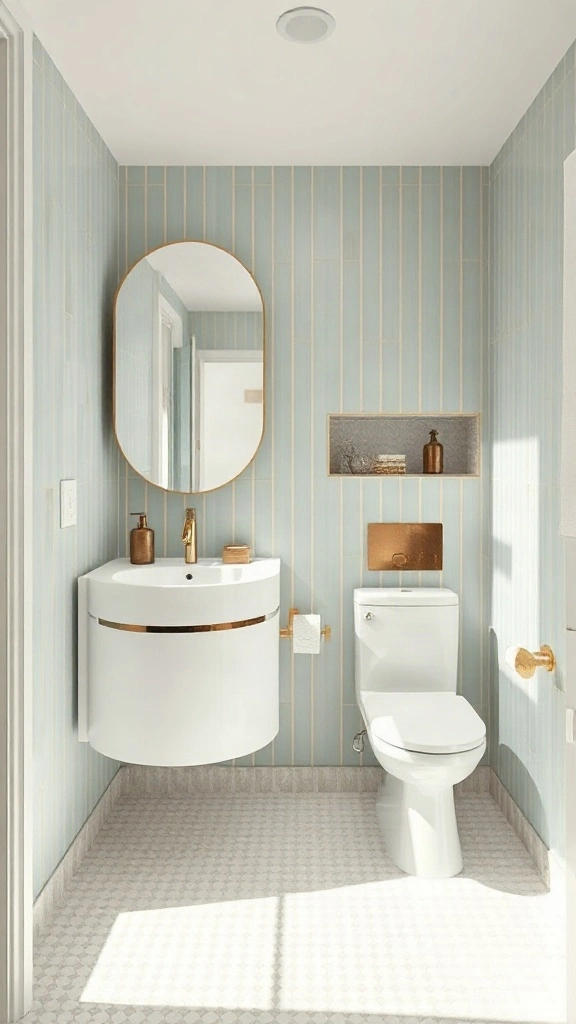
If you are dealing with tiny master bathroom ideas, every single inch feels like prime real estate. I tested this corner-focused floor plan in an old 1940s bungalow with just 45 square feet. By tucking a 36-inch neo-angle glass shower into one corner, you open up the entire center floor for comfortable movement. No bruised hips.
Vertical storage saves this layout. Instead of bulky floor furniture, utilize built-in recessed niches and intelligent towel storage for small bathroom footprints directly between standard wall studs. Floating the vanity also exposes floor tile, making the room breathe.
⚠️ Where People Go Wrong:
Using swinging hinged glass doors in a compact footprint. Use sliding bypass doors or a pivot door that opens inward without hitting the sink edge.
7. Partitioned Water Closet Layout
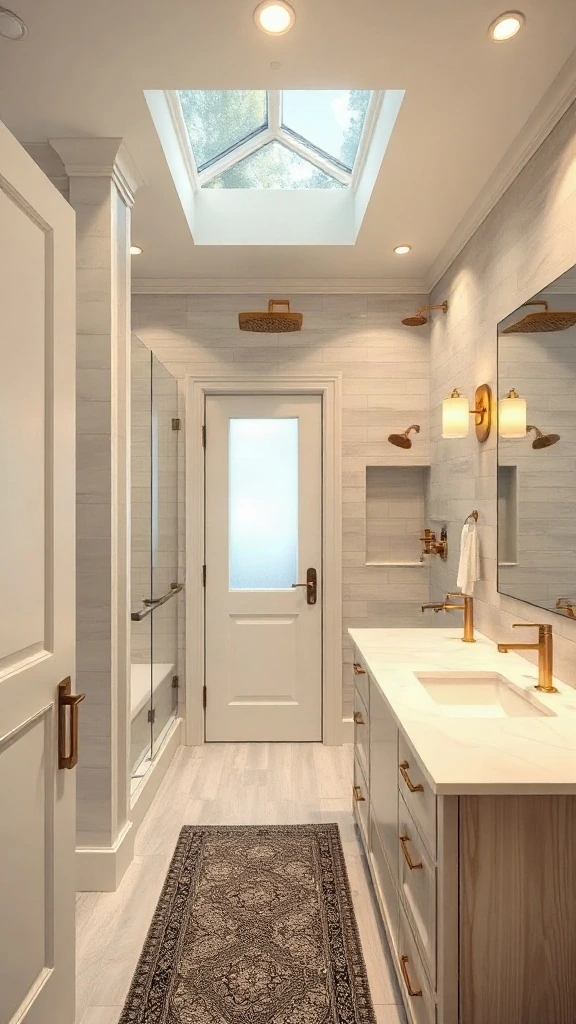
Real privacy matters in a shared master suite. Hiding the commode behind its own dedicated door lets two people use the space at the same time without awkward compromises. The trick is sizing the water closet correctly. Aim for at least 36 inches in width and 60 inches in depth. Anything smaller feels like an airplane lavatory.
Paint the interior of the water closet in soft, washable eggshell tones. Top designers frequently consult Sherwin-Williams moisture-resistant paint collections for finishes that resist steam and scuffs while looking velvety smooth.
💡 Pro Styling Move:
Always install a frosted glass transom window over the toilet closet door. It borrows natural light from the main room without giving away an ounce of privacy.
8. Back-to-Back Vanity Island
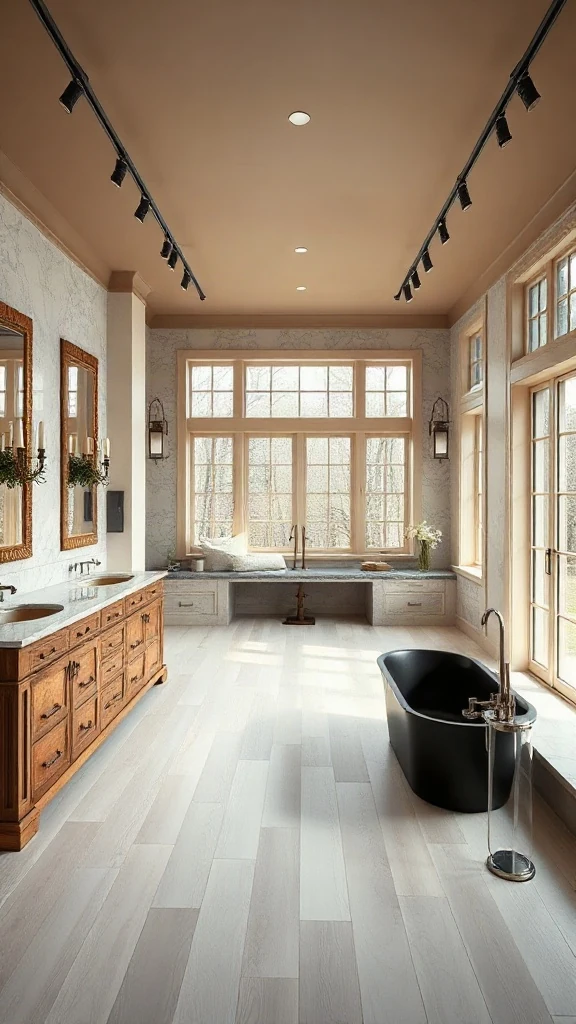
Have a vast 15-by-18-foot master room that feels cavernous and cold? An island vanity breaks up the open acreage instantly. Instead of pushing all plumbing fixtures against perimeter exterior walls, place a freestanding double vanity right in the center. Mirrors can drop down elegantly from ceiling posts or rise through subtle brass stanchions.
This blueprint divides the room cleanly into a grooming zone on the front and a wet bathing lounge in the back. It feels grand, fresh, and distinctly custom. Ensure your plumber runs floor-mounted plumbing lines before pouring foundation slabs or setting subfloors.
⚠️ Where People Go Wrong:
Forgetting power outlet placement. Central islands require code-compliant GFCI outlets, so build electrical outlets discreetly into the vanity side gables.
9. Symmetrical T-Wall Hidden Shower
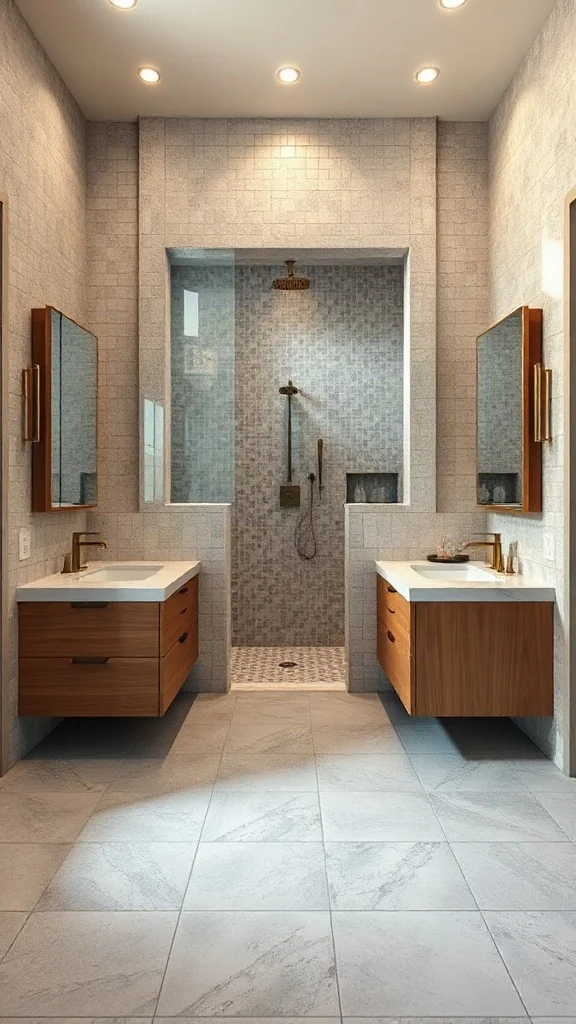
If you hate cleaning glass shower doors with a squeegee, this is your dream blueprint. A solid tiled partition wall stands in the center of the room. On the front side sits your floating double vanity. Right behind that same wall hides an expansive, walk-in shower requiring zero glass enclosures. Clean, smart, and remarkably low-maintenance.
The entries flank both sides of the center wall. You just step around the corner directly into the shower. Water stays contained naturally through smart showerhead positioning and gentle floor pitching.
💡 Pro Styling Move:
Keep the partition wall seven feet high rather than ceiling-height. This preserves sightlines and lets natural ceiling light spread evenly across the wet zone.
10. Angled Luxury Wing Blueprint
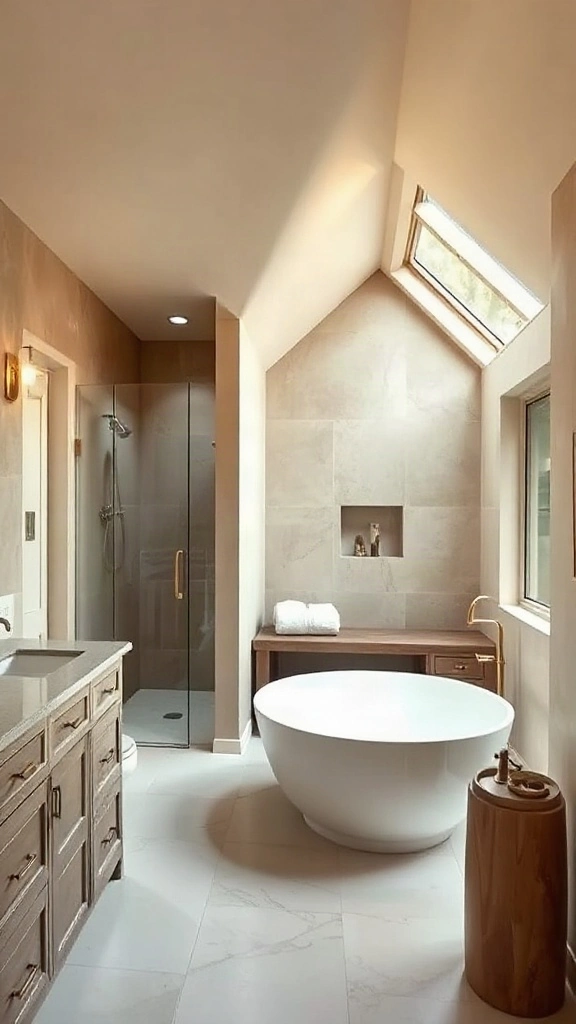
Not every house is a clean rectangle. When working on master suite additions or attic conversions, you frequently collide with strange 45-degree exterior roof angles. Don’t fight them. Lean into the angles by mounting a custom angled vanity across the diagonal corner. It redirects traffic naturally and turns dead space into an active focal point.
In these specialized layouts, custom millwork saves the day. Off-the-shelf vanities leave dusty triangular gaps behind them. Custom fillers make the entire structure look like an organic part of the house frame.
⚠️ Where People Go Wrong:
Putting the shower stall under low sloped ceilings. Maintain at least 80 inches of standing headroom under the showerhead for genuine comfort.
11. Minimalist Linear Curbless Setup
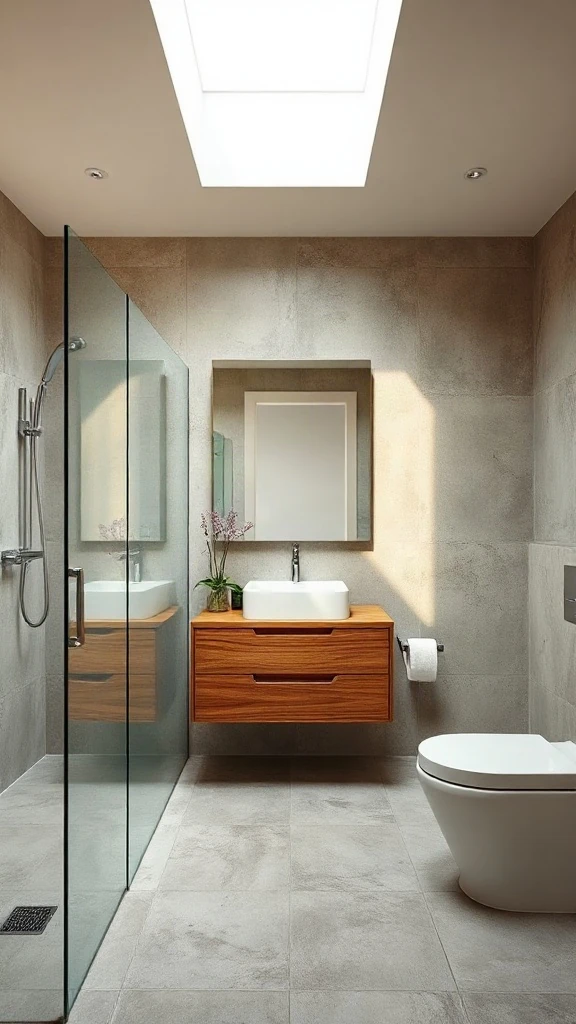
Curbless showers are an unbeatable modern layout choice. By dropping the shower subfloor so tile flows across the entire room without a raised step, the floor looks vast and completely unified. This layout excels for universal design, letting anyone age in place gracefully without tripping hazards.
I advise clients to pair this with a wall-hung floating vanity and a hidden-tank toilet. When the entire floor plane remains clear of cabinet bases and toilet pedestals, cleaning takes five minutes with a simple flat mop.
💡 Pro Styling Move:
Run in-floor electric radiant heat coils straight into the shower floor. Stepping barefoot onto pre-warmed stone on a chilly winter morning is unmatched.
12. Window-Framed Freestanding Retreat
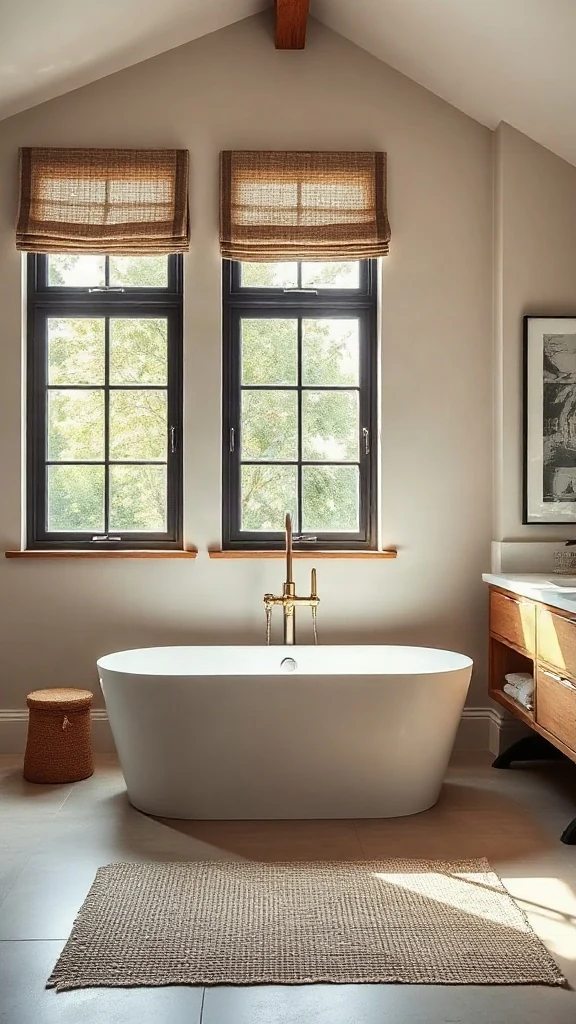
If you have an exterior wall with private garden views or tall tree canopies, position your freestanding tub directly underneath that glazing. Natural morning light instantly becomes your primary design element. High-profile features in Architectural Digest styling guides repeatedly prove that daylight upgrades bathroom interiors faster than expensive hardware.
Keep window sills at least twenty inches off the finished floor so tub water splashes do not ruin your window trim. Choose composite or PVC trim around this zone rather than standard pine to eliminate moisture rot forever.
⚠️ Where People Go Wrong:
Using standard drywall around windows near the soaking tub. Always apply cement backer board and moisture barrier membranes behind window surrounds near bathtubs.
Frequently Asked Questions
What is the minimum size for a comfortable master bathroom?
A full master bath with a standalone shower, toilet, and vanity requires at least 40 square feet (5×8 feet). However, fitting a separate soaking tub alongside a double vanity comfortably requires at least 80 to 100 square feet.
How wide should my double vanity be in a master layout?
Aim for a minimum width of 60 inches for double sinks. While 48-inch double vanities exist, they leave practically zero counter space for toiletries, meaning you will continually bump elbows during busy mornings.
Is a separate water closet room worth the floor space?
Yes, if your room exceeds 100 square feet. Enclosing the toilet provides undeniable daily privacy when two people share the master suite. If your room is under 75 square feet, skip the divider walls to keep the space from feeling cramped.
What is the most cost-effective master bathroom layout?
The single-wall wet run is the most economical floor plan. Keeping your shower, toilet, and sink supply and waste lines along one shared wall saves thousands in plumbing labor and avoids cutting through foundation concrete.
Conclusion & Styling Takeaways
The best master bathroom layouts balance personal morning habits with realistic square footage. Don’t force every luxury trend into a modest footprint. Focus on generous clearances, solid walking paths, and thoughtful lighting first. Save your favorite blueprints to your Pinterest remodel boards, and test your taped floor dimensions before swinging a single hammer.